[Taskbar Hero / TBH Play Log #8] Torment Complete Clear — Ranger Burst Build and OP Optimization to Defeat the Final Boss
Final entry of the Taskbar Hero / TBH play log. Cleared Torment with a Ranger burst build. Looking back at chest farming, OP optimization, critical hits, and material management.

Taskbar Hero — Finally Cleared
This is entry #8 and the final chapter of my Taskbar Hero / TBH play log.
To cut straight to it: I cleared Torment. Taskbar Hero is complete.
My original plan was to push through Torment with a Priest tanking build, but enemy damage was far higher than expected and I couldn't build enough survivability with what I had. So I switched to a Ranger burst build. This entry covers the path through Torment and the key lessons learned about chest farming, OP tuning, and material management.
I honestly thought I'd finish in about a week — it ended up taking two. Idle games deserve more respect.
Previous entry:
What Is Taskbar Hero (TBH)?
Taskbar Hero / TBH is a free idle hack-and-slash RPG that fits entirely in your PC's taskbar. Its biggest draw is "passive play" — it keeps running in the background while you do other things. Available on Steam.
You assemble a party of four classes — Warrior, Ranger, Priest, and Sorcerer — and let them auto-battle through dungeons. The loop is dropping, crafting, and upgrading gear to push through difficulty tiers: Normal → Hard → Elite → Hell → Torment.
What's in this log
- Torment Ch.1–2-6 went smoothly — existing gear was enough
- Hit a wall at 2-7. Time to farm chests — Chaos resist materials were running low
- Target boss chests, not normal chests — the core chest farming philosophy
- Switched to Ranger burst build — Piercing Arrow + Barrage, prioritizing attack speed
- The real cause of death was ranged attacks — not DPS, but letting enemies get too close
- Elemental ranged attacks ramp up in Chapter 3 — Elemental Evasion becomes more important than regular Evasion
- Shifted from attack speed to critical rate — stability improved dramatically in the late game
- Torment 3-10 final boss defeated — full clear achieved
Torment Chapter 1 Through 2-6 — Smooth Sailing
After unlocking Torment, I cleared Chapter 1 on existing gear and kept the same setup all the way through 2-6.
The wall came at Torment 2-7. Late Chapter 2 means poison insect enemies — which means Chaos resistance. The same issue that plagued me back in Hell Chapter 3 had returned. My gear had been upgraded, but I was short on forge materials for Chaos resist OPs.
Time to take a detour and farm chests for a while.
TBH Chest Farming Guide: Target Boss Chests, Not Normal Ones
Here's what I learned about chest farming that I want to pass on.
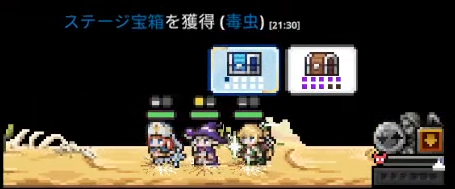
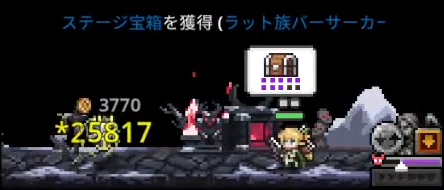
There are two types of chests: normal white chests dropped by regular enemies, and boss blue chests dropped by stage bosses. Blue chests have a better chance of dropping high-rarity gear and materials, and concentrating on them was clearly more efficient than hoarding white chests.
Based on my experience (this is purely observational from my own playtime), picking up normal chests seemed to suppress drop rates for a while afterward — roughly 6 minutes by feel. This suppression may also affect boss chest drops.
The strategy I settled on:
- Turn off auto-collect for normal chests
- Keep inventory slots filled with normal chests already held
- With no new normal chests being picked up, focus exclusively on boss chests
Stage level also seemed to affect chest level (again, this is my impression from playing). Torment 1-3 produced chests around level 80, Torment 1-2 around level 65, and Hell 1-1 around level 50. Farming boss chests at the right tier was far more rewarding than collecting white chests from trash mobs.
TBH Ranger Build: Switching to Burst Mode
After gathering enough materials, I gave the Priest tank build another try — but building enough survivability with what I had just wasn't happening. Time to switch to a Ranger burst build.
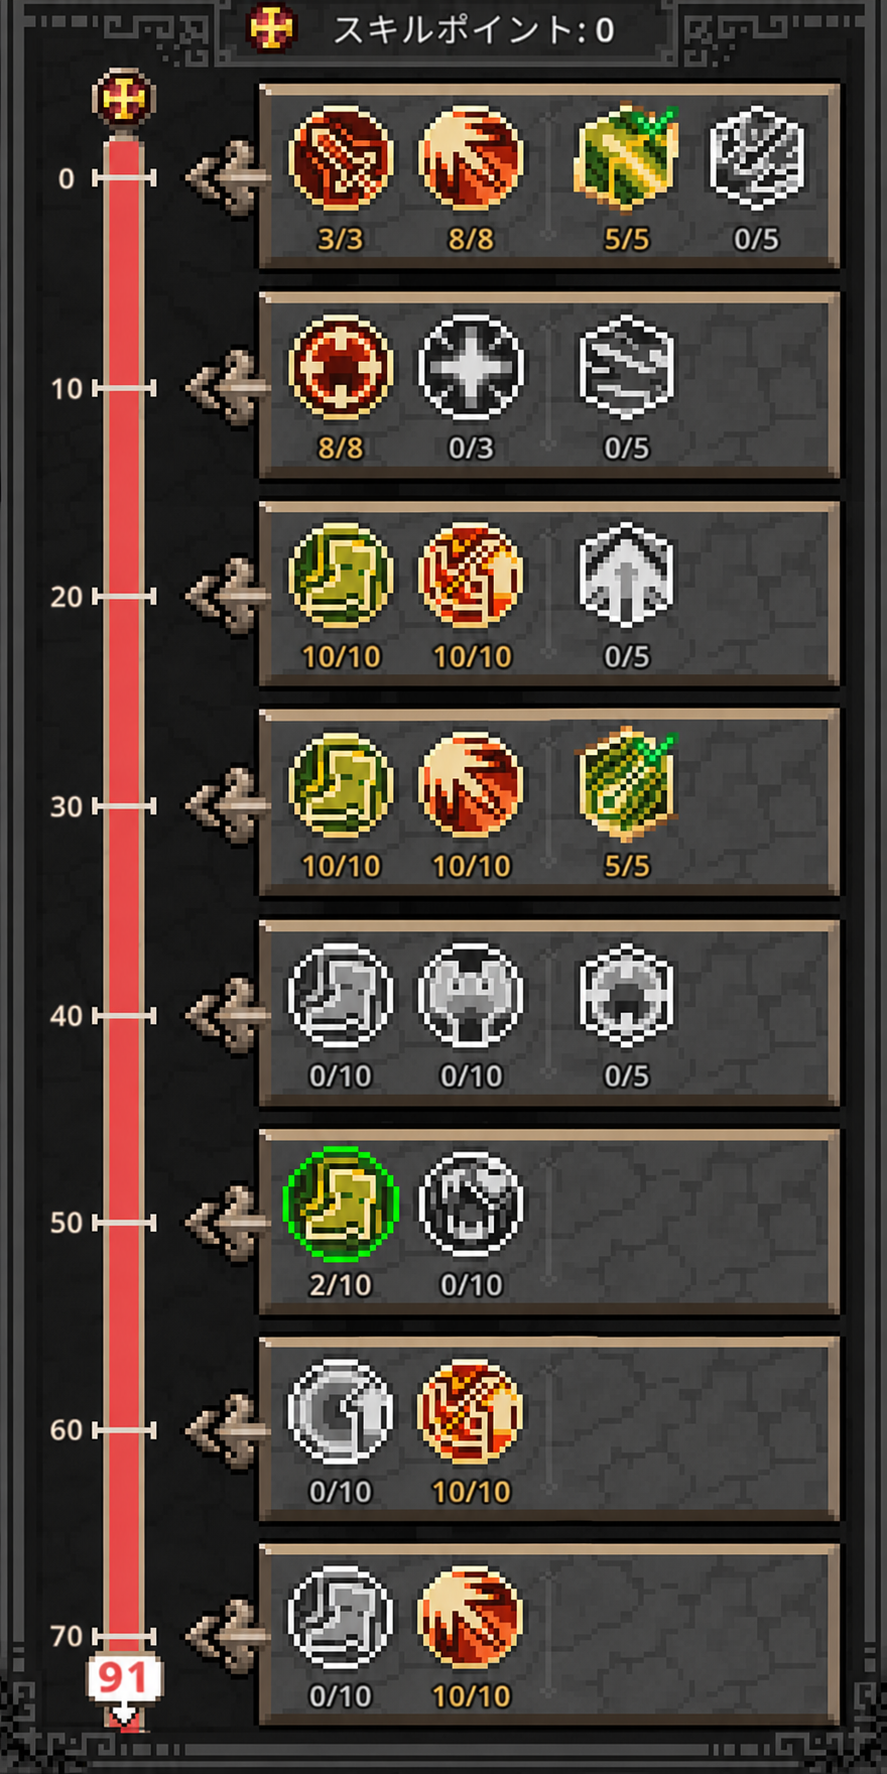
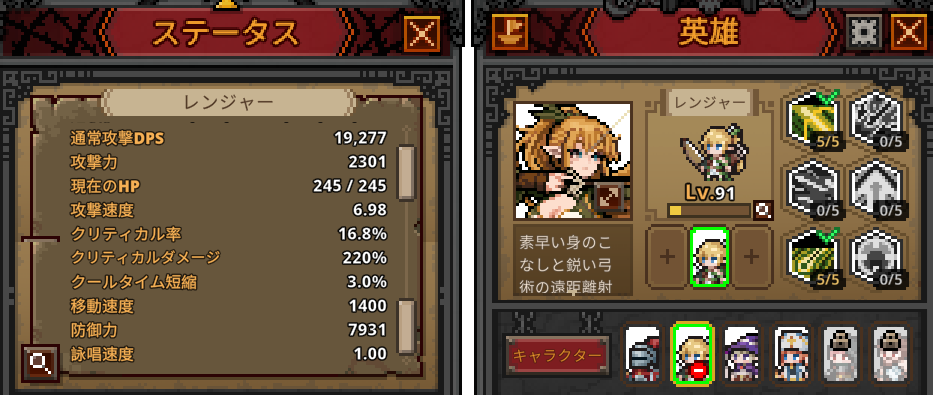
The core idea: maximize attack speed. Skills chosen were Piercing Arrow and Barrage. I prioritized attack speed, projectile damage, and critical rate coefficient.
Swift Surge was on my radar initially. But in solo play, the cast animation roots you in place, and enemies would kill me during that window. It's a strong skill in the right context, but for solo burst play it kept backfiring, so I cut it. Replacing it with Barrage to increase attack count with basic attacks let me clear Torment 2-7.
Torment 2-8: The Real Cause of Death Was Ranged Attacks
I hit another wall at Torment 2-8. My first assumption was that DPS was too low, so I upgraded accessories to Rare+ for more attack speed and added physical damage increase to my weapon. I'd mostly ignored armor because "if I get hit, I die anyway."
Closer observation revealed that the actual cause of death was ranged attacks. When enemies weren't wiped fast enough and they closed the gap, they'd hit with spear or arrow attacks and one-shot me. Dying before Piercing Arrow even fired because a back-row enemy got too close was the most common failure pattern.
It took a surprisingly long time to notice. The problem wasn't DPS — it was clear speed and positioning.
Stacking Evasion and Block — With Limits in the Late Game
With the real cause of death identified, I shifted to adding block rate and evasion rate to armor OPs.
Fitting 2–3 block slots reduced hits, but still wasn't enough. Bringing in other party members tended to draw more ranged attacks and made things worse, so I settled on solo Ranger with heavy evasion investment.
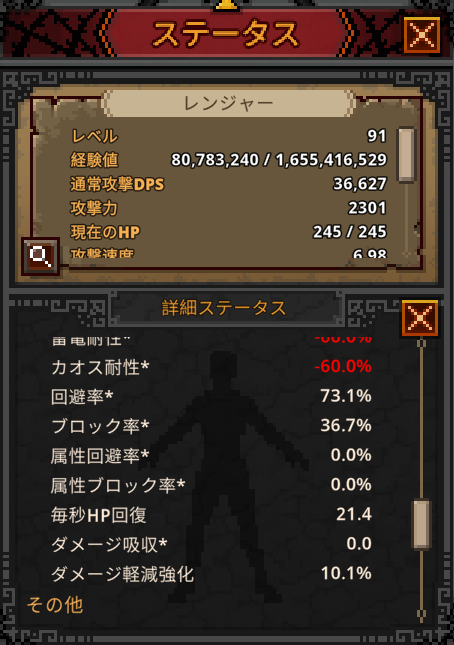
Target was 60–70% evasion, around 30% block. That combination isn't literally 100% mitigation, and it definitely didn't feel invincible — but incoming hits dropped noticeably.
Around this time I picked up a level 80 Immortal weapon and level 65 Immortal arrows. Both had ATK% increase OPs, which were extremely strong. I added ATK boost engravings as well, but the Amethysts for physical damage increase were starting to dry up — which would hurt later.
End Game Is About OPs, Not Gear Level
By the time you reach Torment, simply leveling up gear stops being enough. What actually matters is the quality of your OPs and how you manage your crafting materials.
My general OP targets by slot:
- Weapon: Physical damage increase, ATK%
- Accessories: Attack speed, critical rate
- Armor: Evasion, Block
In a burst build, armor OP quality matters more than armor level. A level 80 Legendary with weak OPs can lose to a level 65 Immortal with the right ones.
The painful part is that running out of materials means you can't attach the OPs you need. The Amethyst shortage for physical damage kept hurting right to the end. Use your materials wisely — but don't hoard so hard you stall out either. That balance was genuinely tricky.
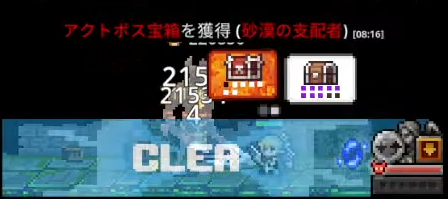
Torment Chapter 2 Cleared — Desert Ruler Down, Solo Ranger
After tuning OPs, I cleared Torment 2-9 and followed up with a solo Ranger clear of the 2-10 boss, Desert Ruler.
The fact that the same build worked all the way through came down to properly investing in OPs and materials at the right time. Pushed into Chapter 3 and the same setup held up for a while longer.
Torment Chapter 3: Elemental Ranged Attacks Ramp Up
Chapters 3-1 through 3-4 went relatively smoothly, but around 3-6 elemental attacks started showing up more frequently.
What made it tricky was that some of the incoming ranged attacks were elemental attacks — and I didn't realize it for a while. Since elemental attacks completely bypass regular Evasion and Block, the Evasion OPs I'd been stacking essentially became dead stats.
Once enemies weren't wiped fast enough and the line backed up, elemental ranged attacks would fly in — and neither Evasion nor Block did anything. After figuring this out, I switched to cutting regular Evasion on armor and investing in Elemental Evasion instead.
Ranger has dedicated Elemental Evasion OPs, and leaning into them in late Chapter 3 noticeably improved survival.
Attack Speed vs. Critical Rate — Late-Game Damage Tuning
The other key adjustment in Chapter 3 was the balance between attack speed and critical rate.
Attack speed around 6 felt like enough by feel. Pushing it higher gave diminishing returns in actual combat, and redirecting that investment into critical rate improved stability more.
When a crit fires, enemies melt. Against an enemy that takes 3 hits to kill, landing a crit on hit 1 or 2 means the kill happens before they can retaliate — that difference is huge. A fixed critical rate OP on gear is a high priority if one drops. The critical rate coefficient OP also seems stronger once base crit rate is reasonably high.
I'd pushed attack speed too high early on, which made rebalancing a bit awkward. But after shifting toward crit, the improvement in stability was obvious. Displayed DPS dropped slightly — but burst kill speed in real combat mattered far more.
Torment 3-8 and 3-9 Down — Final Boss Incoming
Once the approach locked in, the rest came quickly.
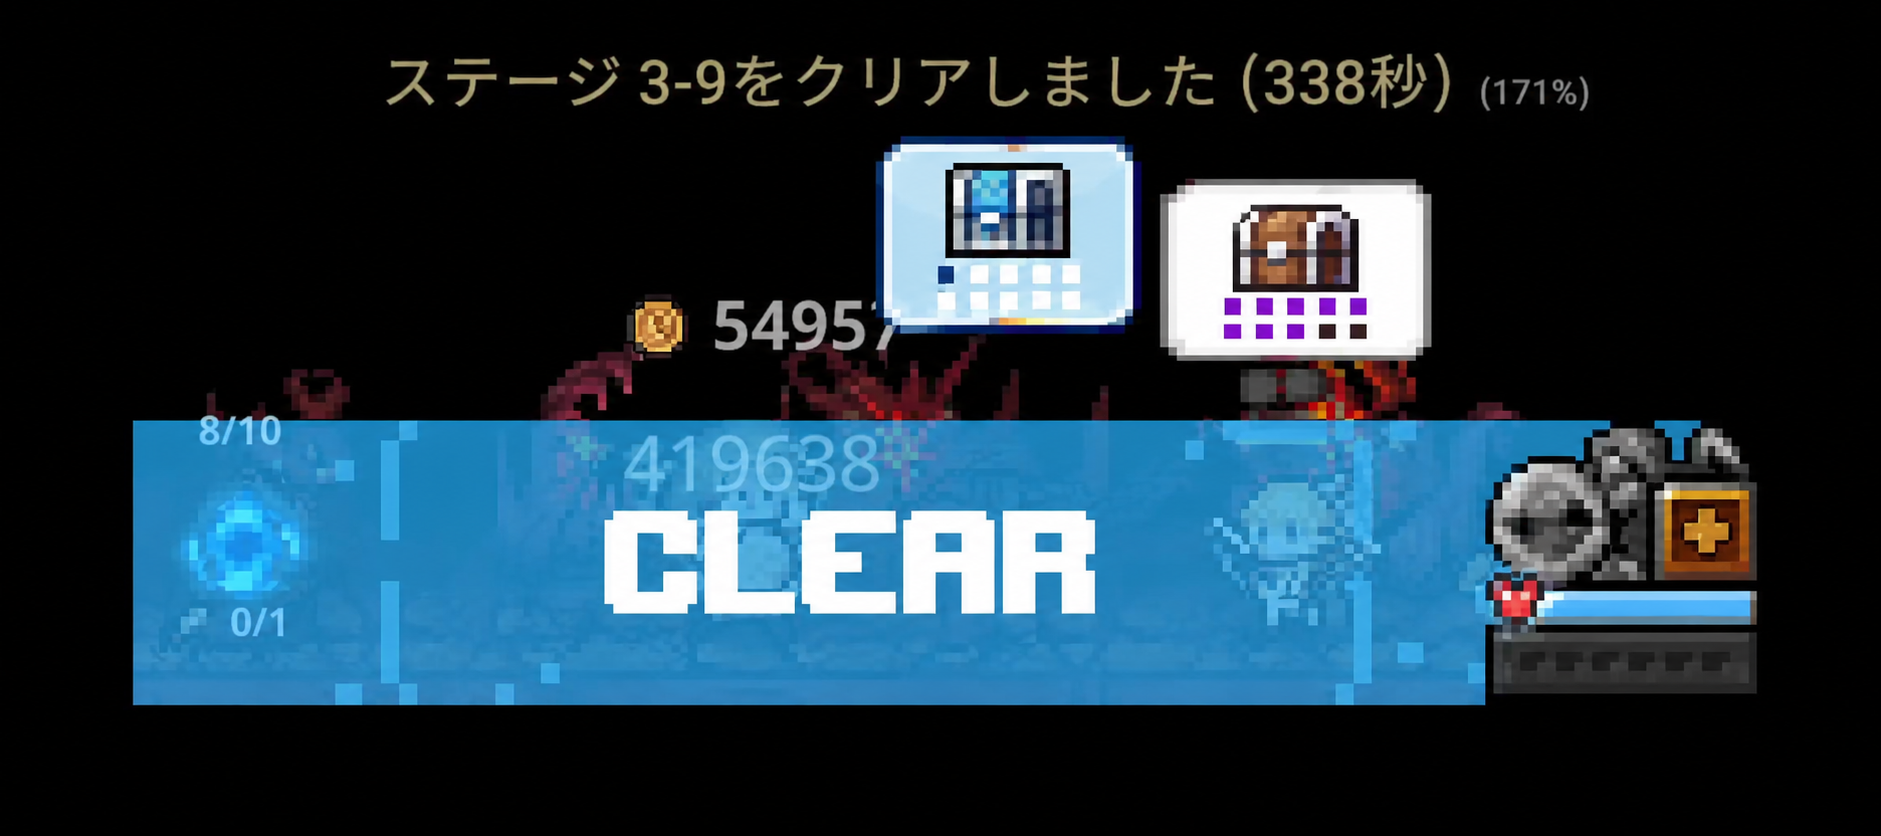
Torment 3-8 took a few tries, but nothing frustrating. Torment 3-9 cleared on the first attempt. For clear purposes specifically, the Ranger burst build is extremely strong.
That said, farming 3-9 would be brutal. Incoming hits were nearing four digits in some spots, and tanking through that consistently would require elemental resistances, HP, evasion, and level 80 Immortal gear all at once. A very different build would be needed for farming.
And then: Torment 3-10, the final boss.
Torment 3-10 Final Boss Defeated — Taskbar Hero Complete
3-10 used the same build as everywhere else. Fire build with a placed Hydra — short, explosive fight. Pushed through, got the kill.
Taskbar Hero: complete.
The chest system quirks, stingy drop rates, OP material shortages — it stayed dense all the way to the end. For an idle game, the depth was well beyond what I expected. Two weeks was longer than I anticipated, but absolutely worth it.

Wrap-Up: Taskbar Hero Is an Equipment Game and an OP Game
Summary of the run:
- Torment Ch.1–2-6 cleared on existing gear; hit a Chaos resist wall at 2-7
- For chest farming, target boss blue chests — prevent normal chest pickups to protect drop rates (based on feel)
- Priest tank wasn't viable with available gear; switched to Ranger burst
- Swift Surge didn't fit solo burst play; Barrage for consistent attack count was the answer
- Cause of death was ranged attacks, not DPS — positioning and clear speed were the real issues
- Evasion, Block, and Elemental Evasion in armor improved survival significantly
- In Chapter 3, Elemental Evasion outweighed regular Evasion
- Shifting from attack speed to critical rate improved late-game stability
- Ultimately, OP quality and material management mattered more than gear level
Early game is about runes. Mid game is about farming locations and Cube level. Late game is entirely OPs and crafting materials. That's the backbone of this game. It's both a gear game and an OP game — that's Taskbar Hero.
With proper OPs and materials, I think a Legendary set could clear the game. The exception is the weapon — level 80+ makes a real difference in base damage.
A full-series progression summary is also available if you want the big picture.
TBH Torment Tips for Ranger Builds
Farm boss blue chests — don't pick up normal chests
From my experience, picking up normal chests appeared to suppress drop rates for a while afterward (observation from my own playtime). Keeping inventory full with held normal chests and targeting only boss chests was noticeably more efficient.
Identify the cause of death before adjusting armor OPs
Assuming "DPS is too low" leads to the wrong fix. Dying to ranged attacks needs Evasion and Block; dying to elemental attacks needs Elemental Evasion. Figure out the cause first — the right adjustment becomes obvious.
Cap attack speed around 6, then invest in critical rate
By feel, attack speed around 6 was sufficient. Beyond that, critical rate returned more in actual combat. A fixed critical rate OP on gear is worth prioritizing when it appears.
Torment Chapter 3 late: Elemental Evasion > regular Evasion
Once I realized the ranged attacks in late Chapter 3 were elemental, I cut regular Evasion on armor and moved into Elemental Evasion. Ranger has dedicated Elemental Evasion OPs — use them actively in Chapter 3.
Manage materials carefully — especially physical damage increase
Amethysts (physical damage increase) are critical late but easy to burn through. Hoarding leads to stalling; burning through them also leads to stalling. Being intentional about where you spend them is essential.
More from this category
[Tales Of Wakana Play Log #1] Clearing the Demo's Underground Stage — Slime Boss Fight and Surprisingly Solid Pixel-Art Action
June 17, 2026
[Lost Castle 2 Play Log] First Solo Clear — Ice Build & Shields Took Down the Demon Lord
June 12, 2026
[Taskbar Hero / TBH Play Log #7] Clearing Hell Chapter 3: why Chaos resistance beats armor level every time
June 10, 2026