[Taskbar Hero / TBH Play Log #7] Clearing Hell Chapter 3: why Chaos resistance beats armor level every time
TBH Play Log #7. Resumed at Hell 3-7 and cleared the full chapter, unlocking Torment difficulty. The key: stacking Chaos resistance to cut 560+ damage down to 186 — even if it means dropping armor level.

Hell Chapter 3 cleared — and Torment is now open
This is entry #7 of my Taskbar Hero / TBH play log.
The short version: resumed at Hell 3-7 and cleared all the way through Hell 3-10, unlocking Torment difficulty. No major gear upgrades happened — this run was entirely about squeezing the most out of existing equipment through enchants and OP choices.
The biggest takeaway: Chaos resistance is mandatory in Hell Chapter 3's back half. Chaos hits were doing 560+ damage per strike. After stacking Chaos resistance across six slots, that dropped to around 186 — well within Heal recovery range. Dropping armor from Lv65 Immortal to Lv35–40 Legendary to fit the resistance OP was absolutely worth it.
Previous entry:
New to Taskbar Hero (TBH)?
Taskbar Hero / TBH is a free idle hack-and-slash RPG that lives in your PC's taskbar. The core appeal is "background play" — it runs quietly while you do other things on your PC, and it's available on Steam.
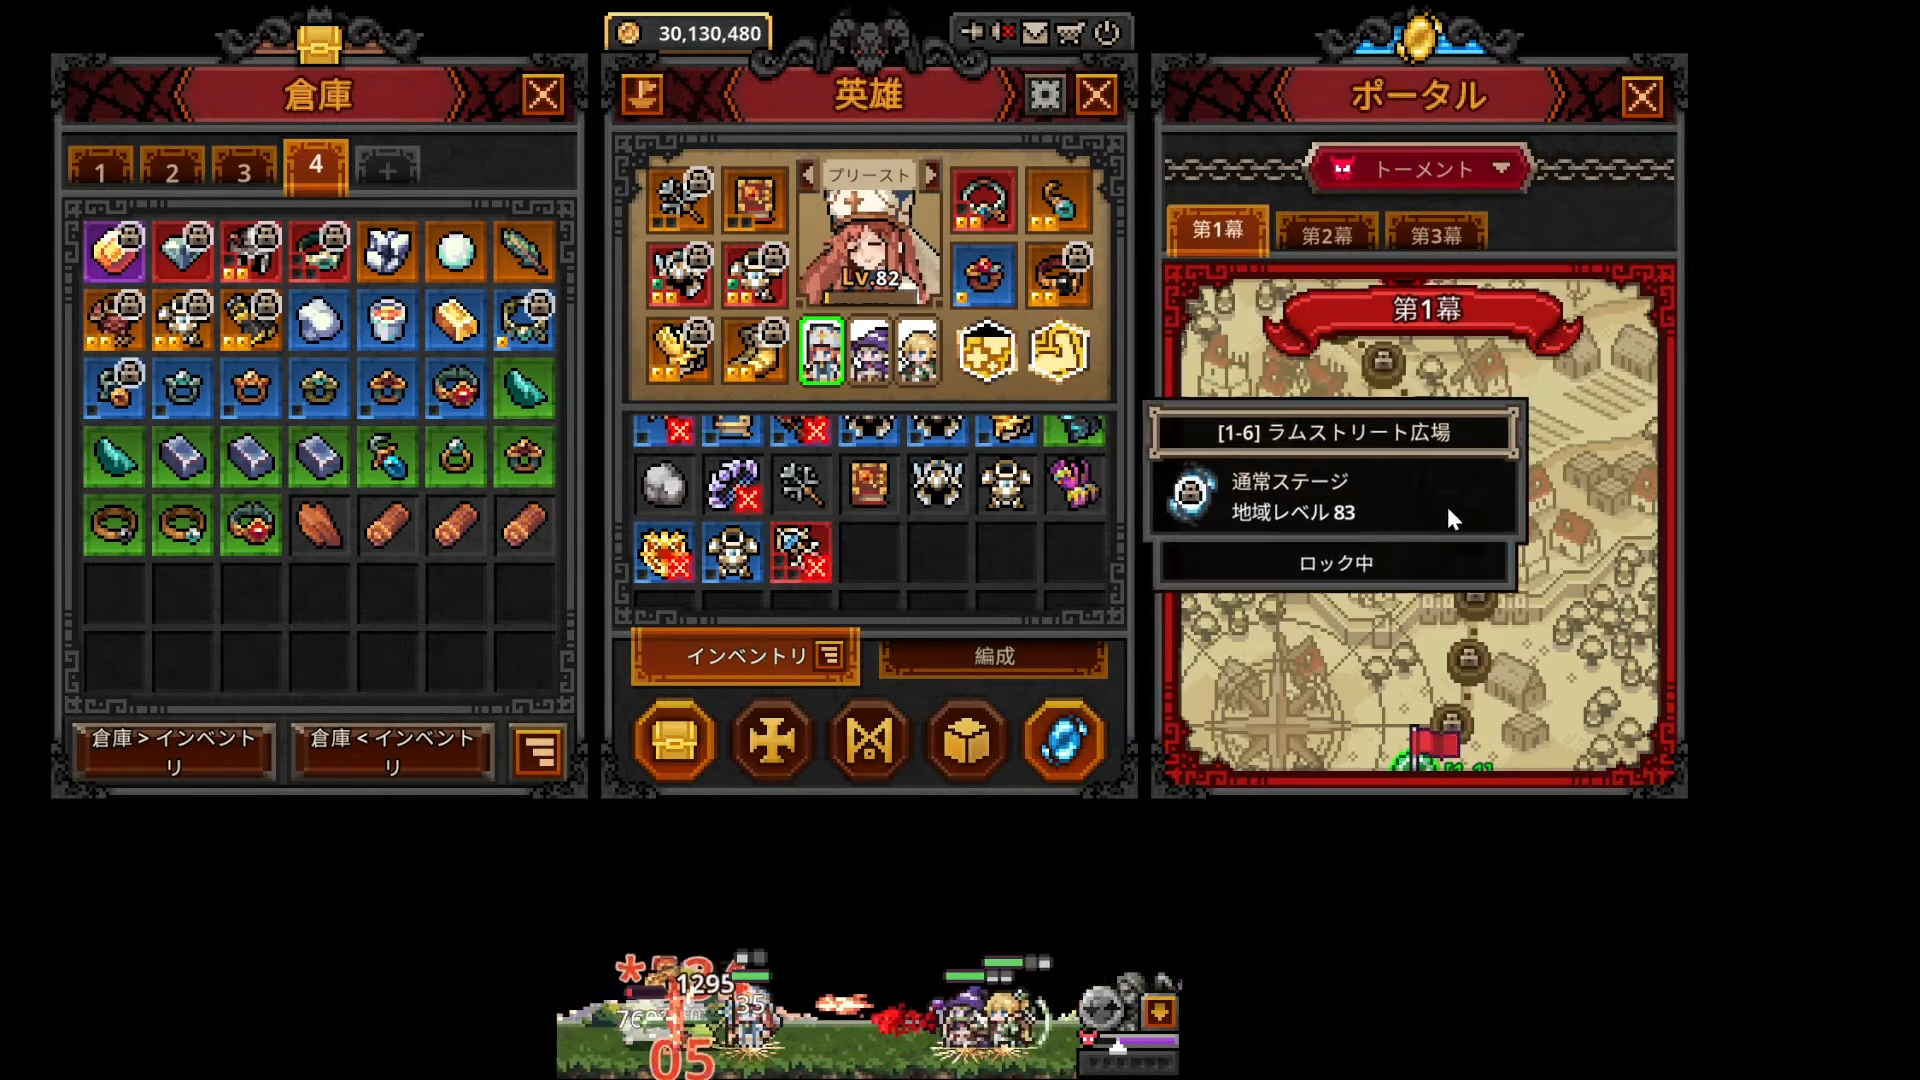
You build a party of four — Warrior, Ranger, Priest, and Sorcerer — and they clear dungeons automatically. Progress comes from looting, synthesising, and upgrading gear, pushing through difficulty tiers: Normal → Hard → Elite → Hell → Torment. The deeper you go, the more elemental resistance builds become critical.
What's in this log
- Max HP stack clears Hell 3-7 and 3-8: prioritised HP to amplify Heal's percentage recovery
- Elemental resistance mechanics: flat bonus system, ~75 cap — stacking from negative takes real effort
- Hell 3-9 is a full-attribute gauntlet: fire, lightning, ice, and Chaos all incoming — Chaos hits hardest
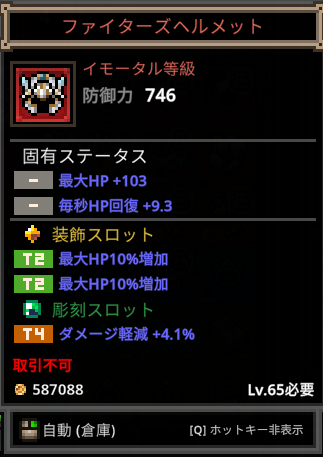
- Dropping armor level for Chaos resistance: Lv65 Immortal → Lv35–40 Legendary to fit resistance OP
- Chaos damage: 560 → 186: now within Heal range
- Hell 3-9 and 3-10 cleared: boss "Morgana Hierophant" taken down with a burst build
- Torment difficulty unlocked: more ahead
- Tips: Chaos resistance guide for Hell 3-9
First priority: stack max HP to amplify Heal
Picking up from Hell 3-7, the first adjustment was adding max HP increase to the arm and leg armor slots.
The reasoning: Heal appears to scale as a percentage of max HP. More HP means more recovery per cast, which is why stacking max HP often outperforms stacking raw defense. This was the same lesson from Hell Chapter 2.
The build wasn't enough to clear on the first attempt — but it felt close. Close enough that it was worth a few more tries before making further changes.
How elemental resistance actually works
Progress through Hell 3 brought some clarity on how resistance is calculated.
It isn't a multiplier — it looks like a flat additive bonus. If resistance is at −40 and you add +20 from one OP, it becomes −20. Two OPs gets you to zero. The apparent cap is around 75.
Going from a negative baseline all the way to 75 requires a lot of slots. For Priest specifically: prioritise max HP and elemental resistance first, then push recovery stats. Defense is fine if you already have Lv65 Legendary gear. Evasion and block rate show little to no effect — elemental attacks seem to bypass both.
Hell 3-7 and 3-8 cleared with max HP stacking
With Chaos resistance not yet in the picture, the max HP build was enough to push through 3-7 and 3-8.
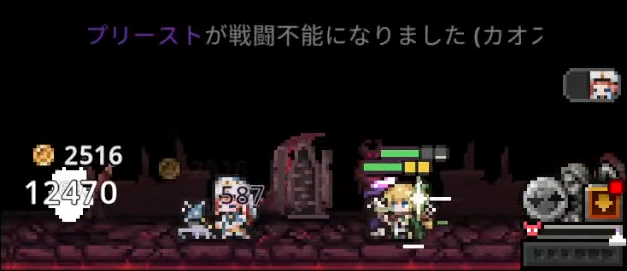
Hell 3-7 hit for 266 damage from what looked like a Chaos attack. With HP under 1,000 that's roughly a quarter of your health in one shot. The logic was simple: if you can't avoid the hit, make it hurt less by percentage. More HP = same damage = smaller proportion lost.

Hell 3-9: every element at once, Chaos hits the hardest
Hell 3-9 changed things.
Fire, lightning, ice, and Chaos — all four element types incoming. The Chaos hits were by far the worst: 500+, peaking around 560 damage per strike. That's roughly a third of a healthy HP bar gone in one hit. Normal attacks weren't a problem — Chaos attacks were the only thing that mattered.
The call: drop armor level, prioritise Chaos resistance
With crafting materials still scarce at this point, the decision was to downgrade armor and fill the freed OP slots with Chaos resistance.
Lv65 Immortal pieces were swapped out for Lv35–40 Legendaries where needed. Emeralds added Chaos resistance across six armor slots, landing at roughly 25–30% effective Chaos resistance. Accessories were crafted or alchemised with flat max HP bonuses — strong value until HP crosses around 1,000, after which armor-side max HP% becomes more efficient.

Result: Chaos damage dropped from ~560 to ~186
After stacking the resistance, Chaos hits fell from ~560 to around 186.
That's the difference between impossible and manageable. At 186, Heal recovers the damage between hits. The survival loop — take hit, Heal recovers, repeat — became sustainable.
Defense dropped slightly from the lower-level armor. But the reduction in Chaos damage was so large it overwhelmed any downside.

Hell 3-9 cleared. The formula: all-element resistance + Chaos resistance + max HP
With the Chaos resistance in place, Hell 3-9 was cleared.
The full picture for Hell Chapter 3's back half:
- All-element resistance for fire, lightning, and ice
- Chaos resistance as a separate stack — this is mandatory, not optional
- Max HP high enough that individual hits stay below ~10% of your total bar
Target benchmarks: max HP ~1,500, Chaos resistance ~40%. Hit those and a Heal Priest build becomes stable.

Hell 3-10: burst build, close finish
Hell 3-10's boss is Morgana Hierophant.
Switched from the durability build back to a burst build for this fight — better to end it before dangerous mechanics come out. Final hit came from Hydra's Embers. It was close, but Hell Chapter 3 is done.

Torment difficulty unlocked
After clearing Hell 3-10, Torment difficulty opened up.
Pushed into Torment immediately and reached around stage 1-9. Currently stalled around Torment Chapter 2 — not enough rare slot unlocks or gear updates to push further. That's a story for next time.
Build summary
Priest (the core of this run)
- Skills: Heal + Blessing of Strength
- Priority: max HP → all-element resistance → Chaos resistance → recovery
- Resistance OP over armor level — Hell 3's back half is won or lost on the Priest's durability
Sorcerer
- Thunder + Ice for linear AoE rear-line clear
- Lv65 Arcana weapon still running strong, no major changes
Ranger
- Attack-speed build, linear attacks to handle front enemies
- Same role as previous sessions
Side note: chest drop rates seem to be recovering
A quick aside on the chest situation.
There was a period where the inventory recovery trick — Settings → recovery button → open Mailbox → wait 10s → refresh — was flooding the mailbox with backed-up chests. Nearly 100 at once at one point, which was a lot of fun to watch.
The drop rates seem to have normalised since then. Steady chest flow means faster crafting material accumulation and faster resistance gear construction.
Wrap-up: Hell Chapter 3's back half is a Chaos resistance check
Summary of this session:
- Resumed at Hell 3-7; 3-7 and 3-8 cleared with max HP stacking
- Hell 3-9 forced a strategy change — Chaos hits at 560+ required dedicated Chaos resistance
- Stacked resistance across six slots; Chaos damage dropped from ~560 to ~186
- Hell Chapter 3 benchmarks: max HP ~1,500, Chaos resistance ~40%
- Elemental resistance is a flat additive system — stacking from negative takes real OP investment
- Hell 3-10 boss "Morgana Hierophant" cleared with a burst build
- Torment difficulty unlocked; currently stalled around Torment Chapter 2
All-element resistance plus a separate Chaos resistance stack — that combination is what clears Hell 3's back half. Downgrading armor level to fit the Chaos resistance OP is the right trade. Next log: Torment Chapter 2 progress.
Tips: Chaos resistance guide for Hell 3-9
The core of this run's challenge, laid out in one place.

For Priest, Chaos resistance can only be gained from a dedicated Chaos resistance OP — the all-element resistance OP covers fire, ice, and lightning, but not Chaos. That gap is what makes Hell 3-9 dangerous.
① Collect Legendary gear
Chaos resistance OP is applied to armor using Emeralds. More armor slots = more resistance you can stack — so having Legendary-tier armor across the board is the foundation.
② Collect Rare+ accessories and enchant materials
Max HP slots are limited to accessories and armor enchant/carve slots. Since armor OP slots should go to Chaos resistance, HP gains need to come from accessories and enchants.
③ Chaos resistance options
| Method | Material / slot | Effect |
|---|---|---|
| Chaos resistance OP (armor) | Emerald (decoration) · Skull (carving) | Chaos resistance direct increase |
| Damage reduction OP | Bat Wing · Harpy Feather etc. | Reduces all damage by a fixed % |
| All-element resistance OP | ─ | Raises fire/ice/lightning (not Chaos) |
| Evasion rate | ─ | ✗ No effect on elemental attacks |
| Block rate | ─ | ✗ No effect on elemental attacks |
④ Chaos resistance materials
| Material | Slot type | Chaos resistance |
|---|---|---|
| Emerald |
Armor decoration | +15–20% |
 Skull Skull |
Armor carving | +20–25% |
⑤ Max HP materials
※ List based on materials confirmed in hand — other materials may exist.
| Material | Slot type | Max HP bonus |
|---|---|---|
 Amethyst Amethyst |
Armor decoration | +60–90 |
 Minor Amethyst Minor Amethyst |
Armor decoration | +10–30 |
 Opal Opal |
Armor decoration | +17–20% |
 Amber Amber |
Armor decoration | +8–11% |
 Mandrake Root Mandrake Root |
Armor carving | +90–120 |
 Bat Wing Bat Wing |
Armor carving | +60–90 |
 Turquoise Turquoise |
Accessory decoration | +90–120 |
 Mushroom Spores Mushroom Spores |
Accessory carving | +60–90 |
 Ogre Blood Ogre Blood |
Accessory carving | +60–90 |
⑥ Damage reduction materials
| Material | Slot type | Damage reduction |
|---|---|---|
 Harpy Feather Harpy Feather |
Armor decoration | 4–5.5% |
 Pearl Pearl |
Armor decoration | 4–5.5% |
| Bat Wing |
Armor carving | 3–4% |
 Ancient Tree Sap Ancient Tree Sap |
Armor carving | 3–4% |
Carving slots (Bat Wing, Ancient Tree Sap) roll randomly from two possible outcomes, so damage reduction isn't guaranteed. Immortal gear only has one carving slot. Even stacking Pearl across eight slots gives 32–44% reduction — accounting for the Chaos resistance penalty, the real gain is roughly −8% to +4%, which isn't enough on its own. Since Priest's skills cover fire/ice/lightning resistance adequately, those OP slots are better spent on Chaos resistance and max HP.
Tips from this session
Hell Chapter 3's back half requires dedicated Chaos resistance
All-element resistance doesn't cover Chaos. Stack six slots of Chaos resistance OP — it dropped incoming Chaos damage from 560+ to around 186. Worth downgrading armor level to fit the OP.
More max HP = more effective Heal recovery
Heal appears to scale as a percentage of max HP. Stacking max HP beats stacking raw defense for survival. Aim for ~1,500 max HP in Hell Chapter 3.
Elemental resistance is a flat additive system
Starting at −40 resistance, adding +20 brings it to −20; two OPs gets to zero. Cap appears to be around 75. Start stacking early if you're in negative territory.
Boss fights: switch to a burst build
Morgana Hierophant (Hell 3-10) is easier to burst down before she acts than to outlast. If a durability build feels slow against a chapter boss, swap to burst — kill speed beats survivability here.
Flat HP bonuses are strong until ~1,000 HP; then switch to % bonuses
Accessory flat HP enchants give good value at lower HP totals. Once you're comfortably above 1,000, max HP% from armor enchants becomes more efficient per slot.
More from this category
[Tales Of Wakana Play Log #1] Clearing the Demo's Underground Stage — Slime Boss Fight and Surprisingly Solid Pixel-Art Action
June 17, 2026
[Taskbar Hero / TBH Play Log #8] Torment Complete Clear — Ranger Burst Build and OP Optimization to Defeat the Final Boss
June 14, 2026
[Lost Castle 2 Play Log] First Solo Clear — Ice Build & Shields Took Down the Demon Lord
June 12, 2026