[Lost Castle 2 Play Log] First Solo Clear — Ice Build & Shields Took Down the Demon Lord
Lost Castle 2 first-run play log. From character creation and the forest through Crystal Mountain, Black Castle, and the Demon Lord — all in one solo session. Ice builds, shields, and dodge timing covered.
First time in Lost Castle 2 — a co-op 2D roguelite beat 'em up
This is a first-run play log for Lost Castle 2.
Lost Castle 2 is a side-scrolling 2D action roguelite that supports up to four players online. It feels close to a classic belt-scroll brawler — think Kunio-kun or Final Fight with roguelite progression bolted on. There's also a hint of Hades in the DNA, and the four-player co-op angle reminded me of Castle Crashers.
The setup is classic treasure-hunter stuff: head into the castle, grab the loot. Clean and approachable from the start.
I played solo this session and cleared the first run from start to finish. This log covers everything from character creation to the final boss.
What's in this log
- Character creation — surprisingly deep customization for a 2D game
- Tutorial — punch, throw, bomb. Classic brawler feel
- Ghost Knight — thought I won, then got instantly killed by a cutscene
- Forest through challenge areas — gearing up by attack power and rarity
- Mad Gardener — first boss down, grabbed a shield legendary
- Graveyard to The Last Guardian — ice build starts pulling its weight
- Crystal Mountain & Behemoth — throwing crystals at a giant rock monster is peak fun
- Black Castle Bridge to Wandering Knight — enemy designs go wild
- Black Castle & Demon Lord — first-run clear achieved
- Post-clear content — camp upgrades, Nightmare difficulty unlocked
Character creation — more options than you'd expect from a 2D game
The game opens with a character creator, and it's better stocked than I anticipated.
For a 2D action game you might expect a handful of options, but there's a solid variety of parts. Makes sense for a co-op title — you need to be able to tell players apart at a glance.
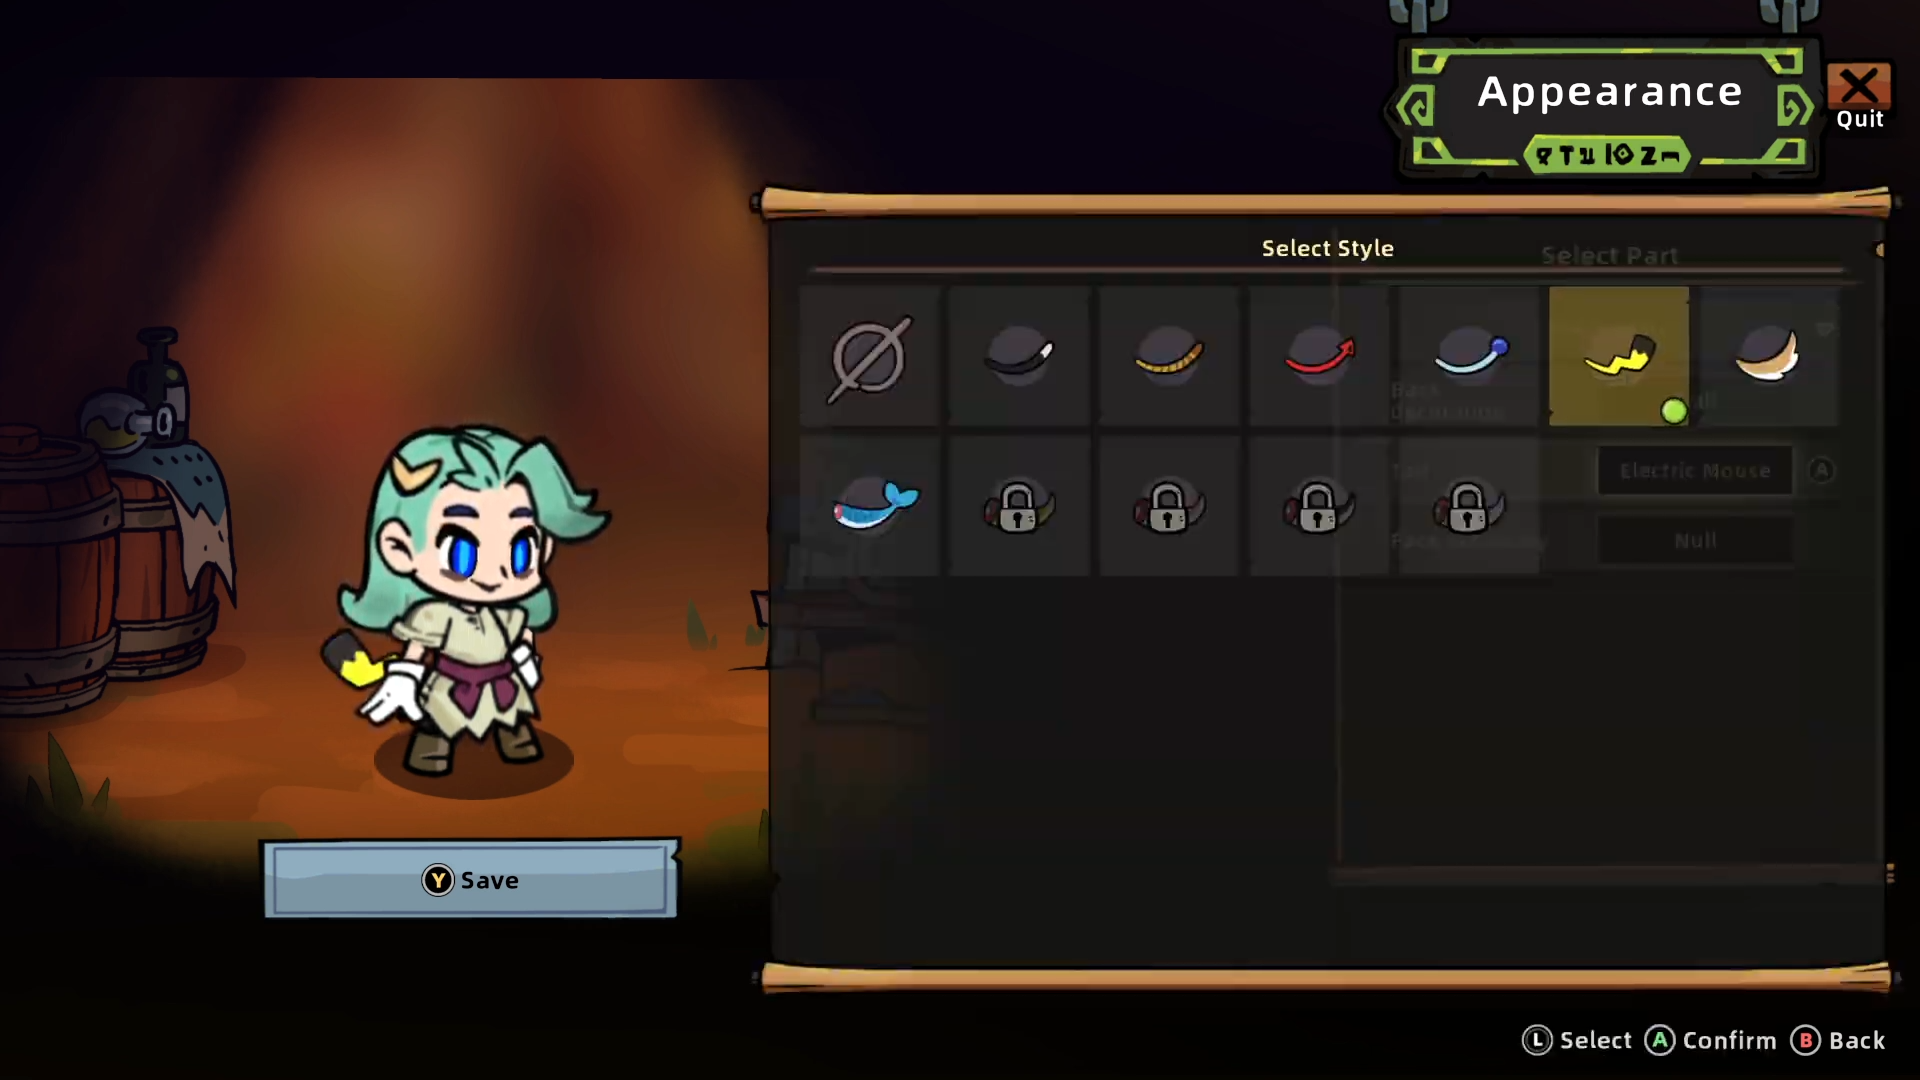
I spotted a tail part that looked suspiciously like a certain electric mouse, paired it with a blonde look, and called it done. (Keeping the reference name to myself.)
You can also change your appearance later by talking to a goblin-like NPC at the base, so there's no pressure to get it perfect upfront.
Tutorial — punch, throw, bomb. Classic brawler from the first moment
The tutorial has you follow what appears to be an Old Hunter through the basics: movement, jump, normal attack, and special attack.
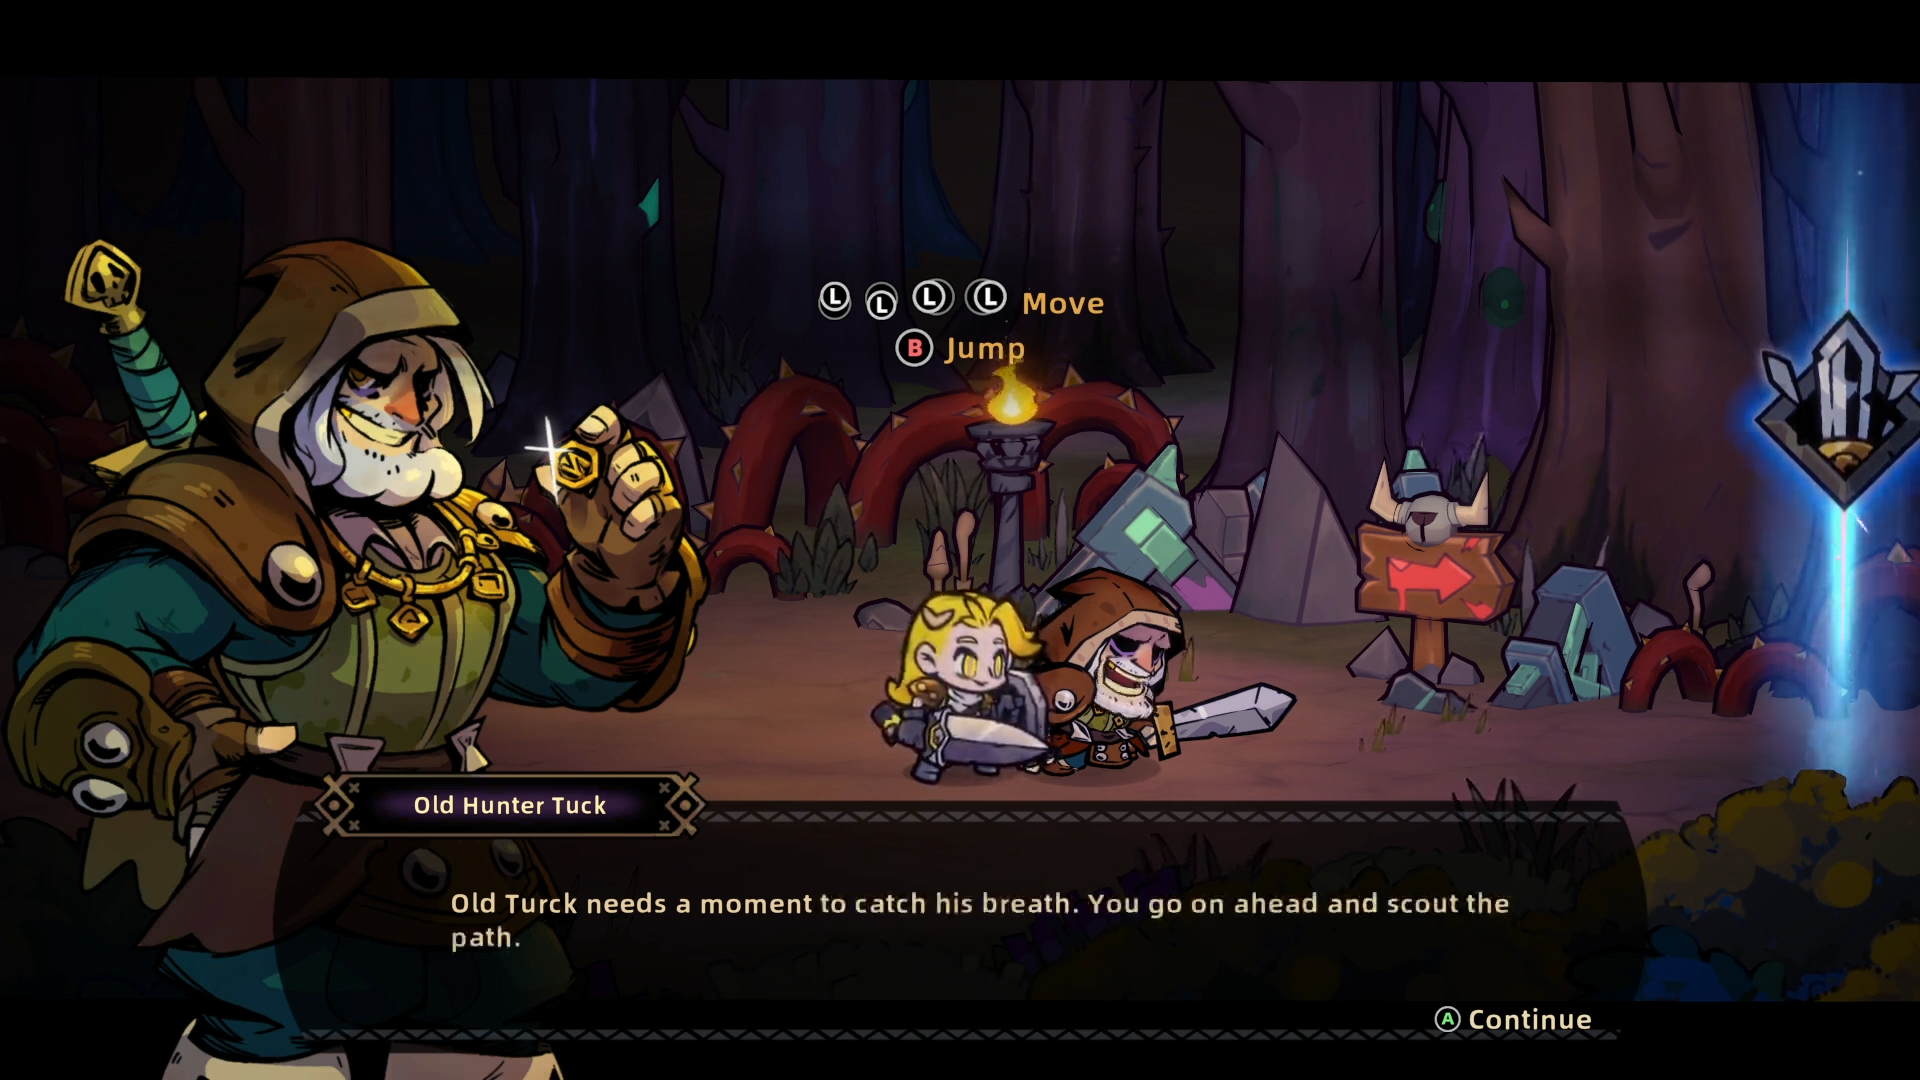
You can pick up enemies and throw them, and there are throwable items like bombs as well. That punch-throw-item loop feels exactly like a beat 'em up should — satisfying from the first few seconds.
Three colour-coded enhancement elements also appear: red, blue, and green. At first I wasn't sure if they were elemental types or stat categories like power/speed/magic. Based on what came later they seem tied to the rune and attribute build system, but the exact mechanics are still unclear.
The tutorial's hazing ritual — thought I beat the Ghost Knight, got instantly killed
Near the end of the tutorial, a Ghost Knight-type enemy appears.
I wore it down. Landed what felt like the finishing blow. Victory incoming—
…"Adventure Over."
It turns out this is a scripted cutscene death, not a regular gameplay loss. The first time it happened I genuinely thought something had gone wrong. But it's a clever way to set expectations: this game rewards reading attack animations and rolling out of danger, not mashing through everything.
The message lands early — dodging and positioning matter here. Roll through attack animations, get behind enemies, and don't overstay on offense.
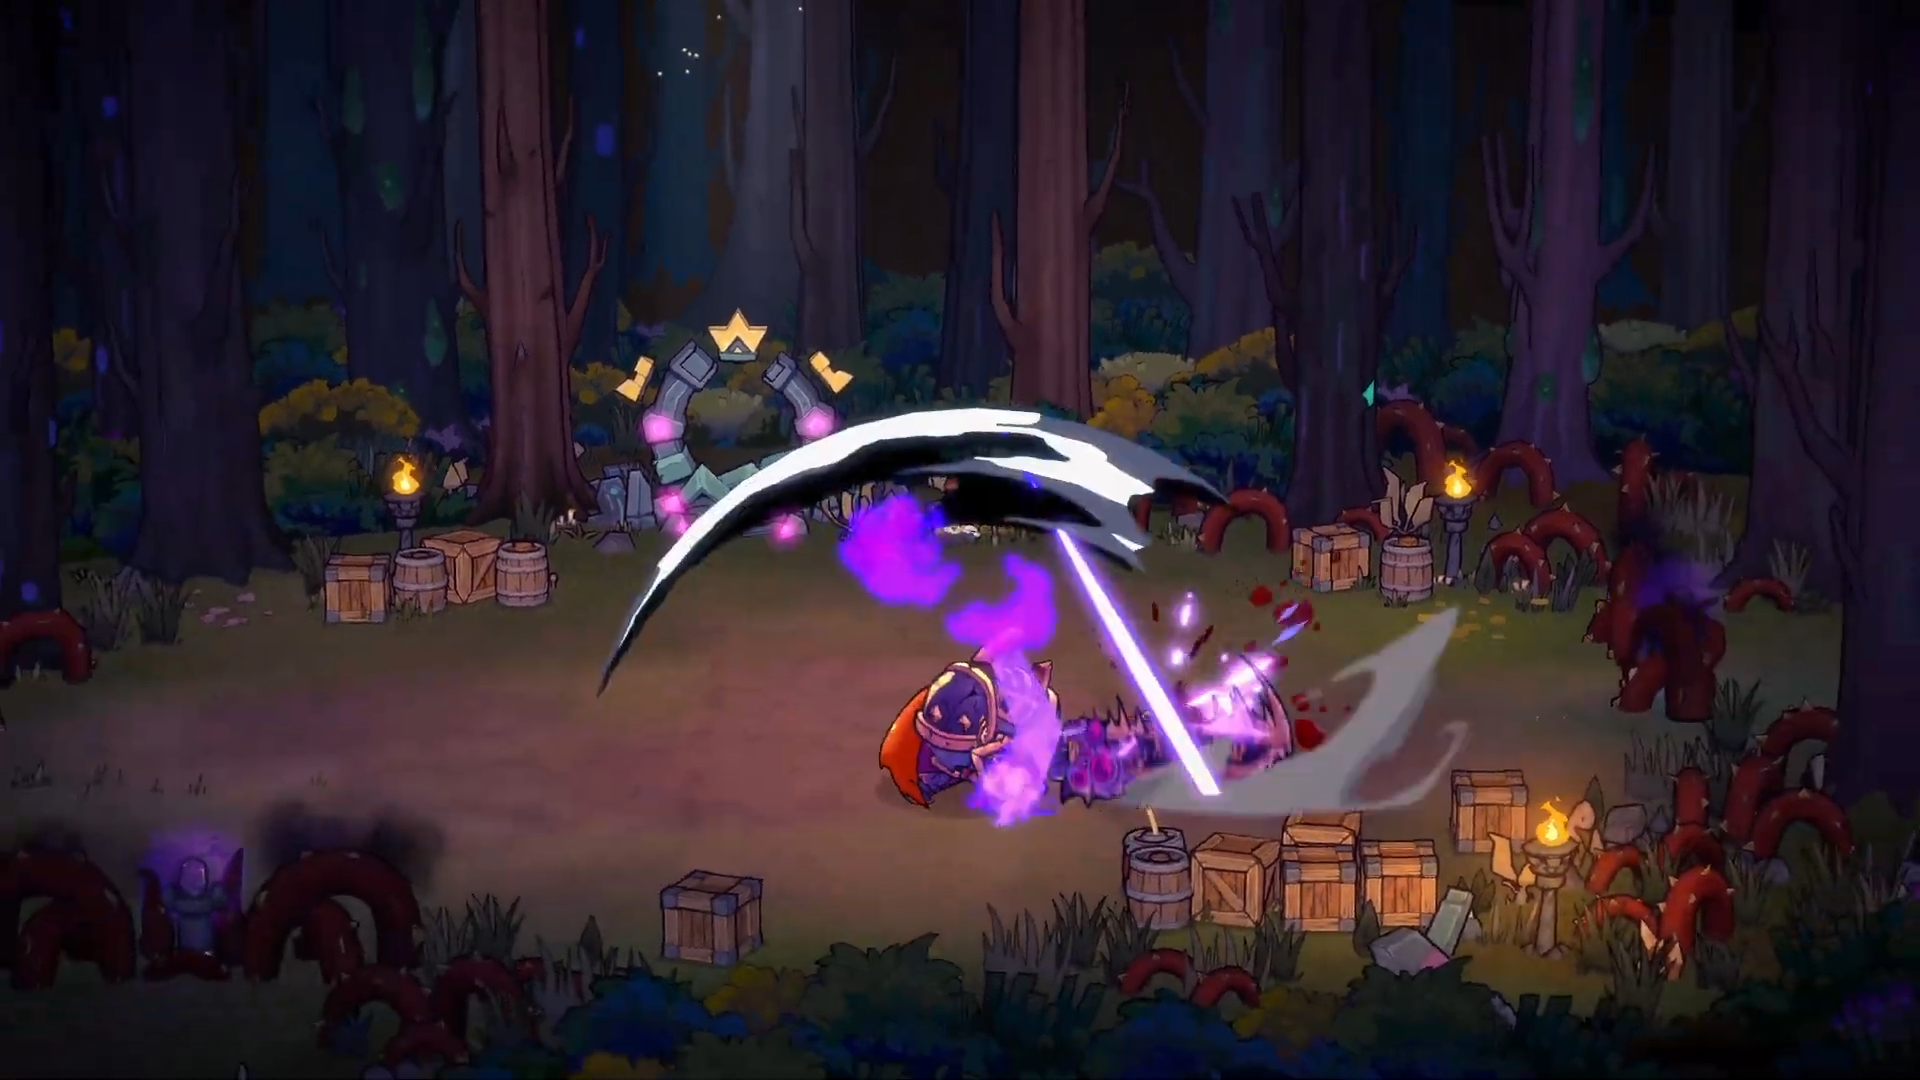
Base and forest stage — gear up by attack power and rarity for now
After the cutscene death, you return to the base. Not much is unlocked at this point, but it's clearly laying the groundwork for persistent upgrades down the line.
The first real stage is a forest area, and the early enemies are goblin types you can push through with normal attacks.
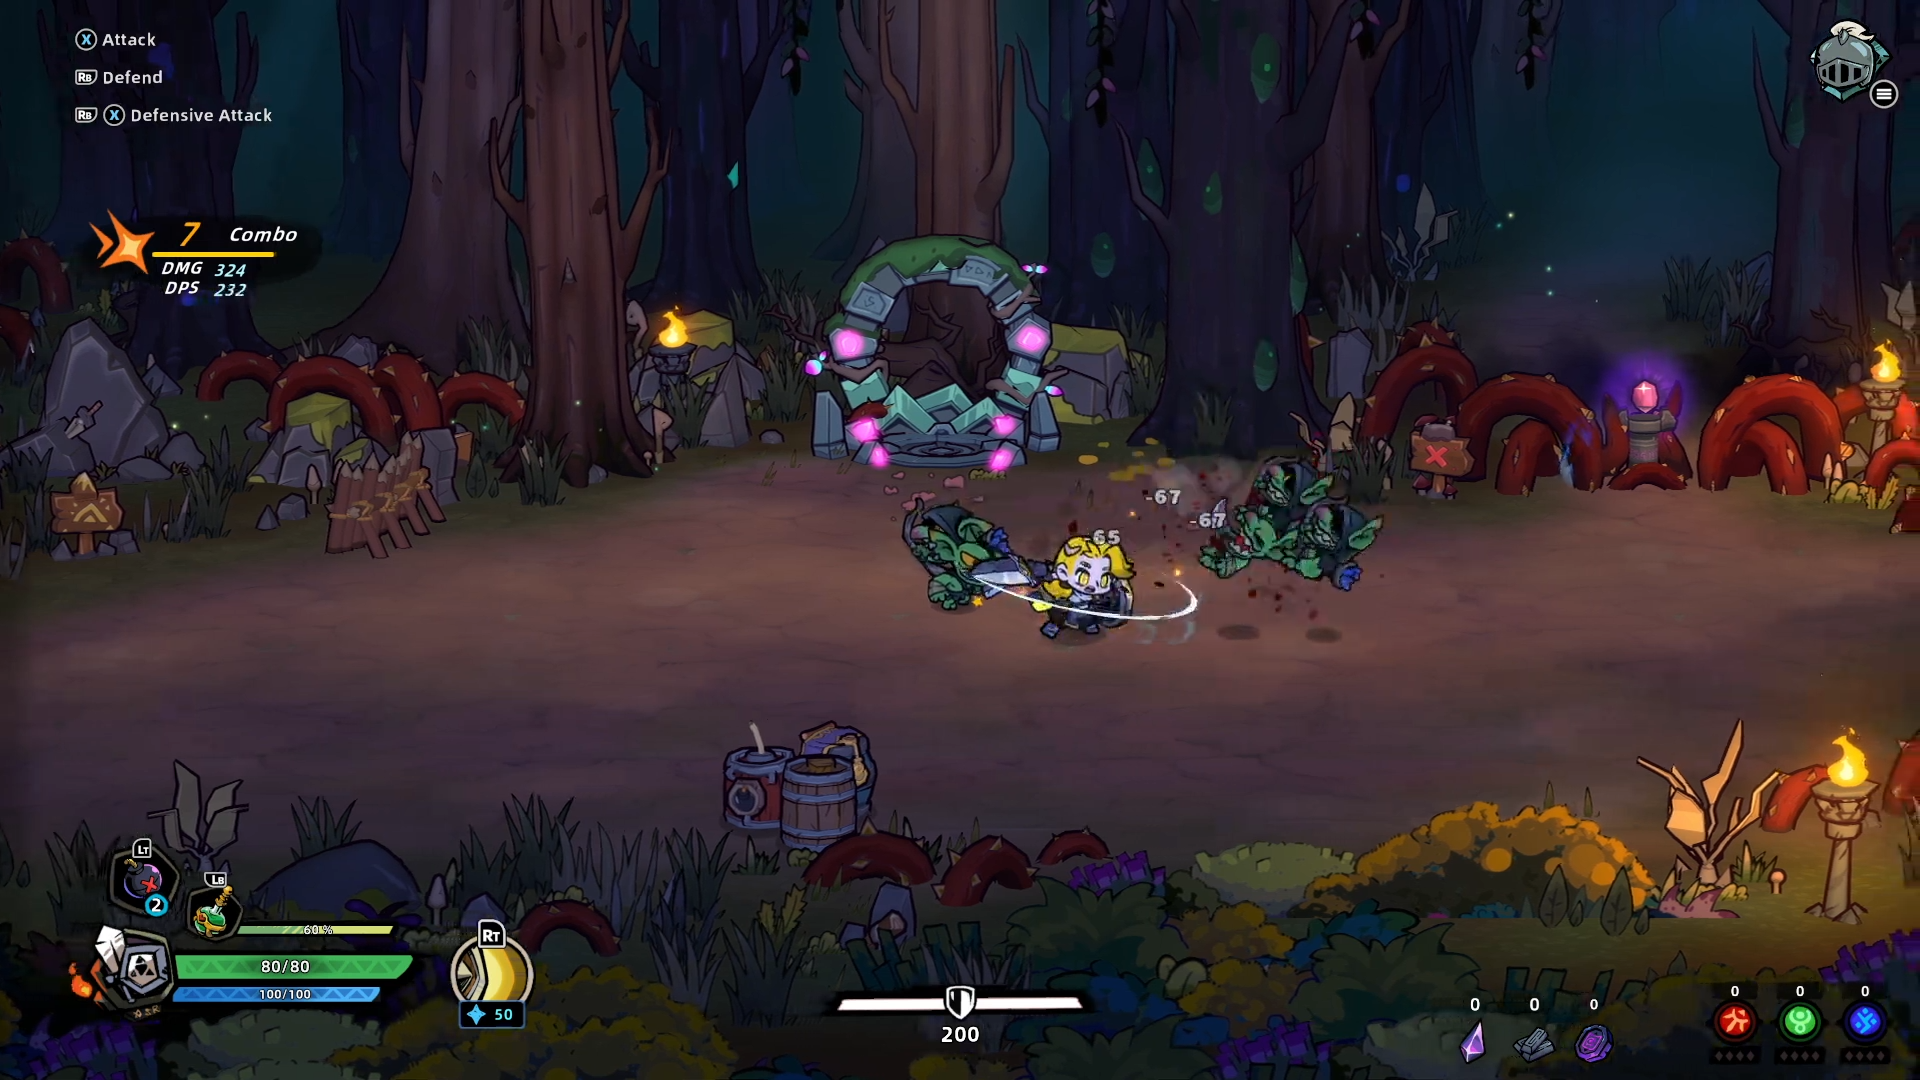
I didn't have a strong read on the gear system yet, so I prioritized attack power and rarity when picking up equipment. Ended up with a spear. Rune points seem to boost specific effects, but I wasn't sure what was doing what, so I just picked up whatever I found.
Challenge areas and super armor
Red-tinted areas trigger challenge events mid-stage.
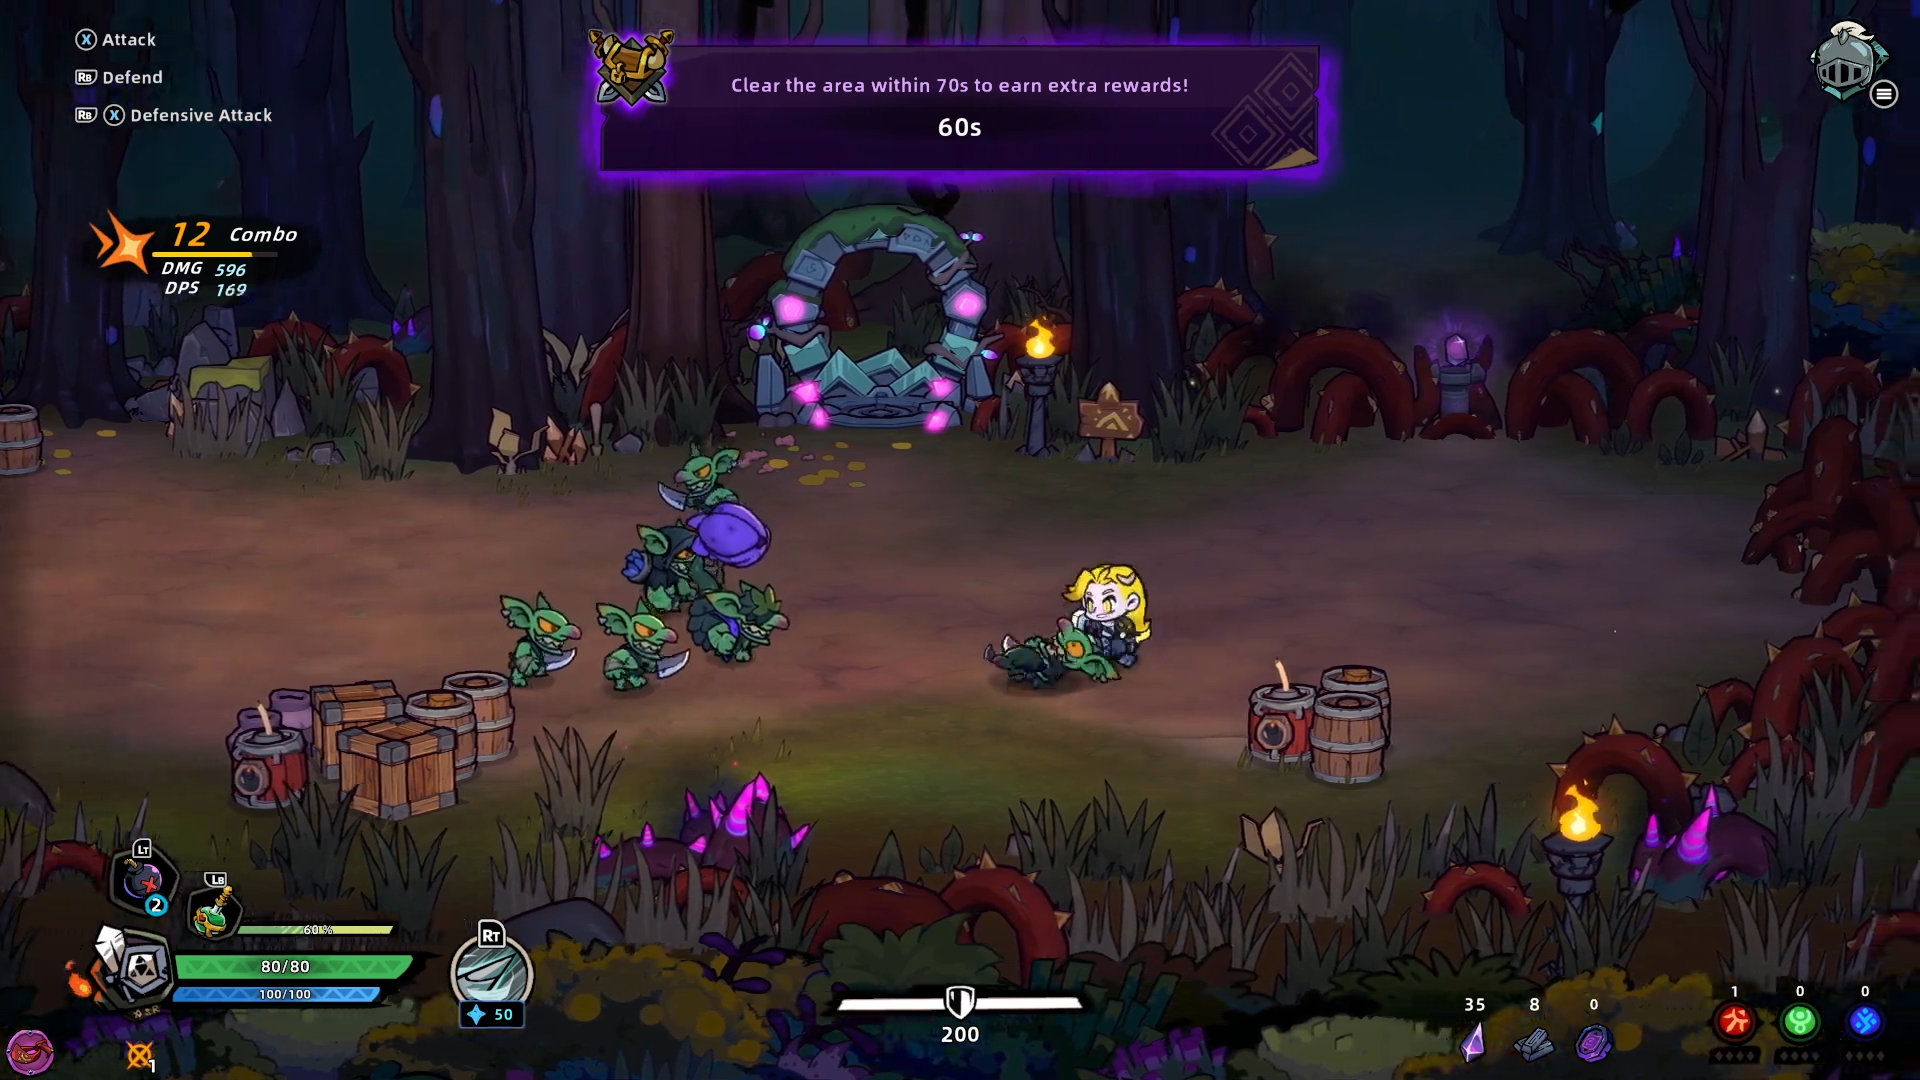
These seem to be timed kill missions, and clearing them adds an extra reward to the drop. Definitely worth chasing.
One thing to watch: large enemies can have super armor during their attacks. I learned this the hard way — keep swinging during an attack animation and you'll eat the counter. Better to read the animation and dodge out than to go for extra hits.
First boss: Mad Gardener
The first boss is the Mad Gardener.
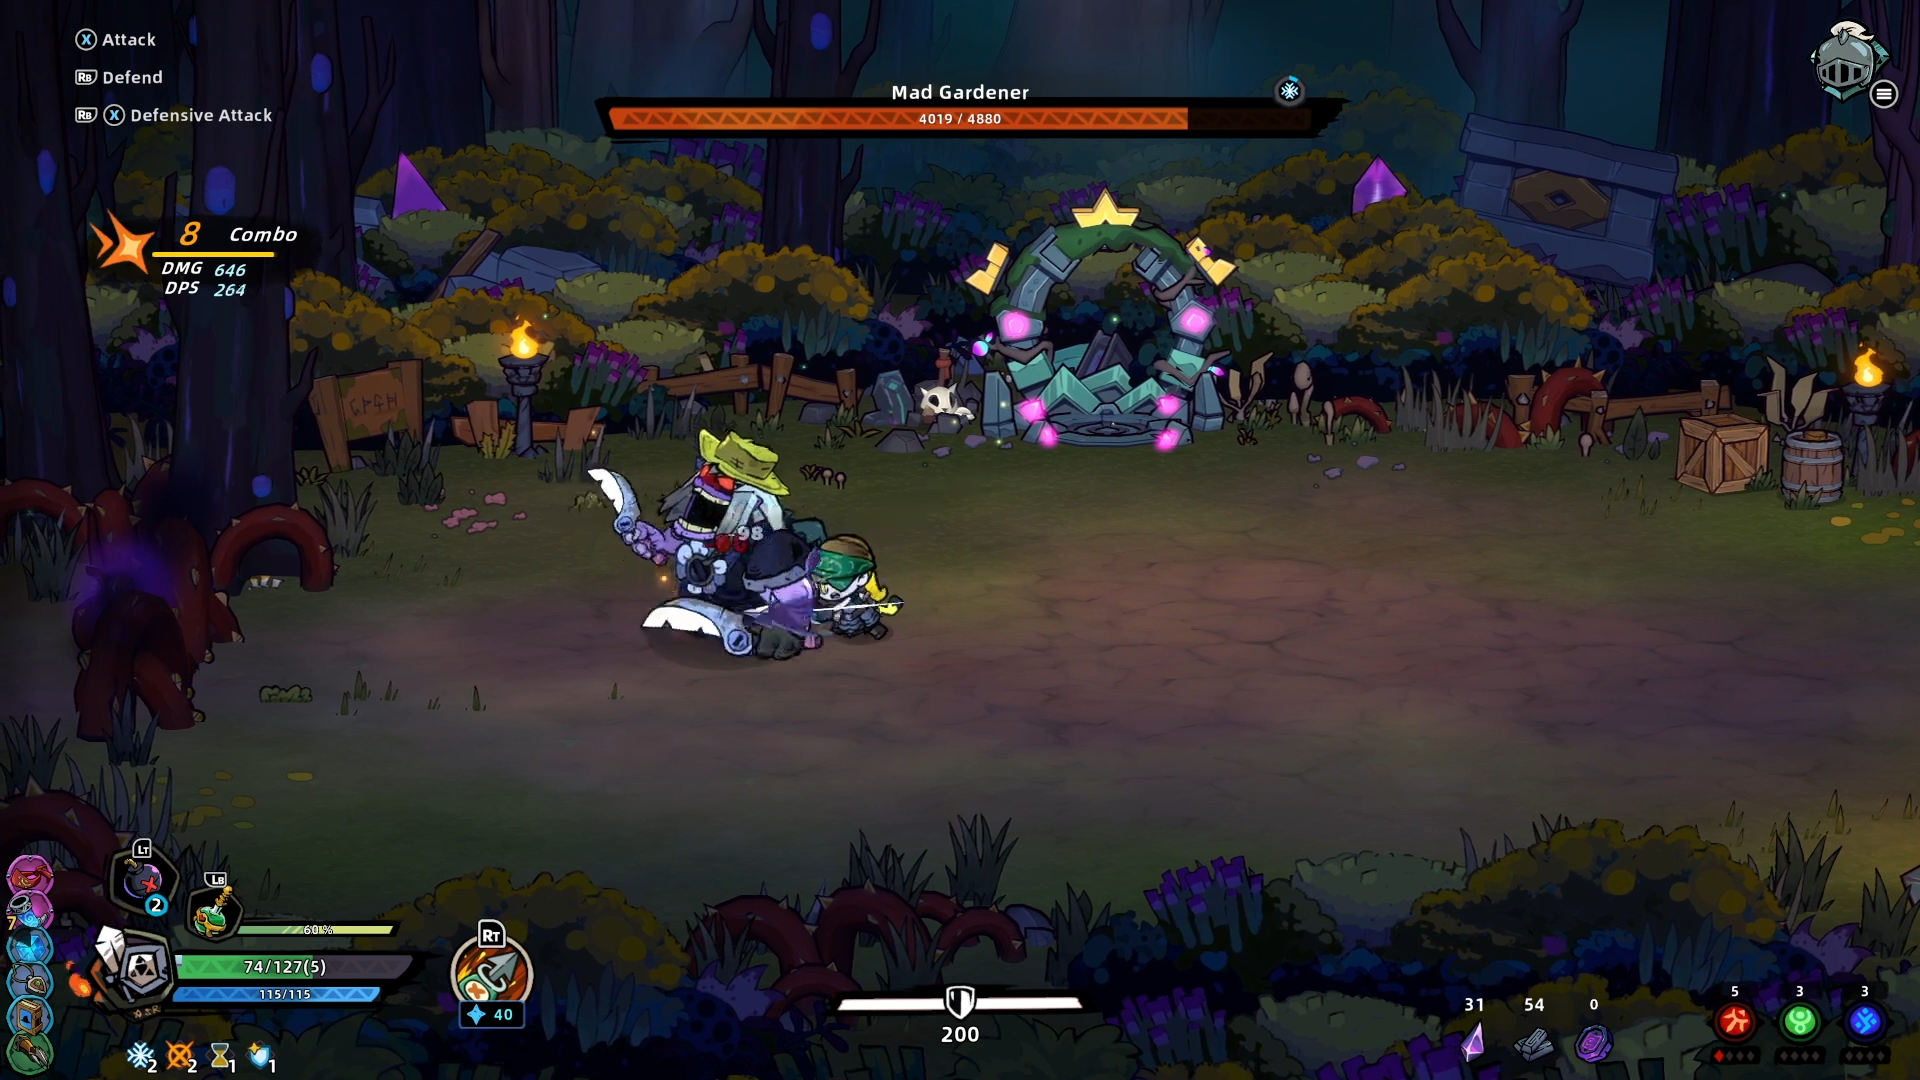
Phase one: circle behind, attack freely, dodge the spin. Straightforward.
After what looked like a kill, a second phase kicked in and adds spawned. My default rule is clear the adds first — and it worked fine here. The second phase actually had more charged attacks and ended up feeling a bit easier than the first.
Boss down, legendary reward pops up.
I took the shield-type effect. A shield that resets on a per-stage or per-run basis is one of the strongest defensive tools a roguelite can hand you, so I wasn't going to pass on it.
Graveyard / ruined town — ice build starts taking shape
The next area is a graveyard or ruined settlement. Zombie-type enemies.
A few enemies here have charging attacks that need a bit of respect. Dodge patiently and it's manageable.
Two solid pickups in this zone:
- Gloomy Ice Crown — ice equipment, and ice means freeze potential
- Shields of Adherence — reduces incoming damage by 5, which pairs very well with the shield I already have
Cutting the raw damage that hits your shield before the shield even absorbs it is a meaningful survivability multiplier.
The Last Guardian — read the animation, win the fight
Next boss: The Last Guardian. Sword-type enemy.
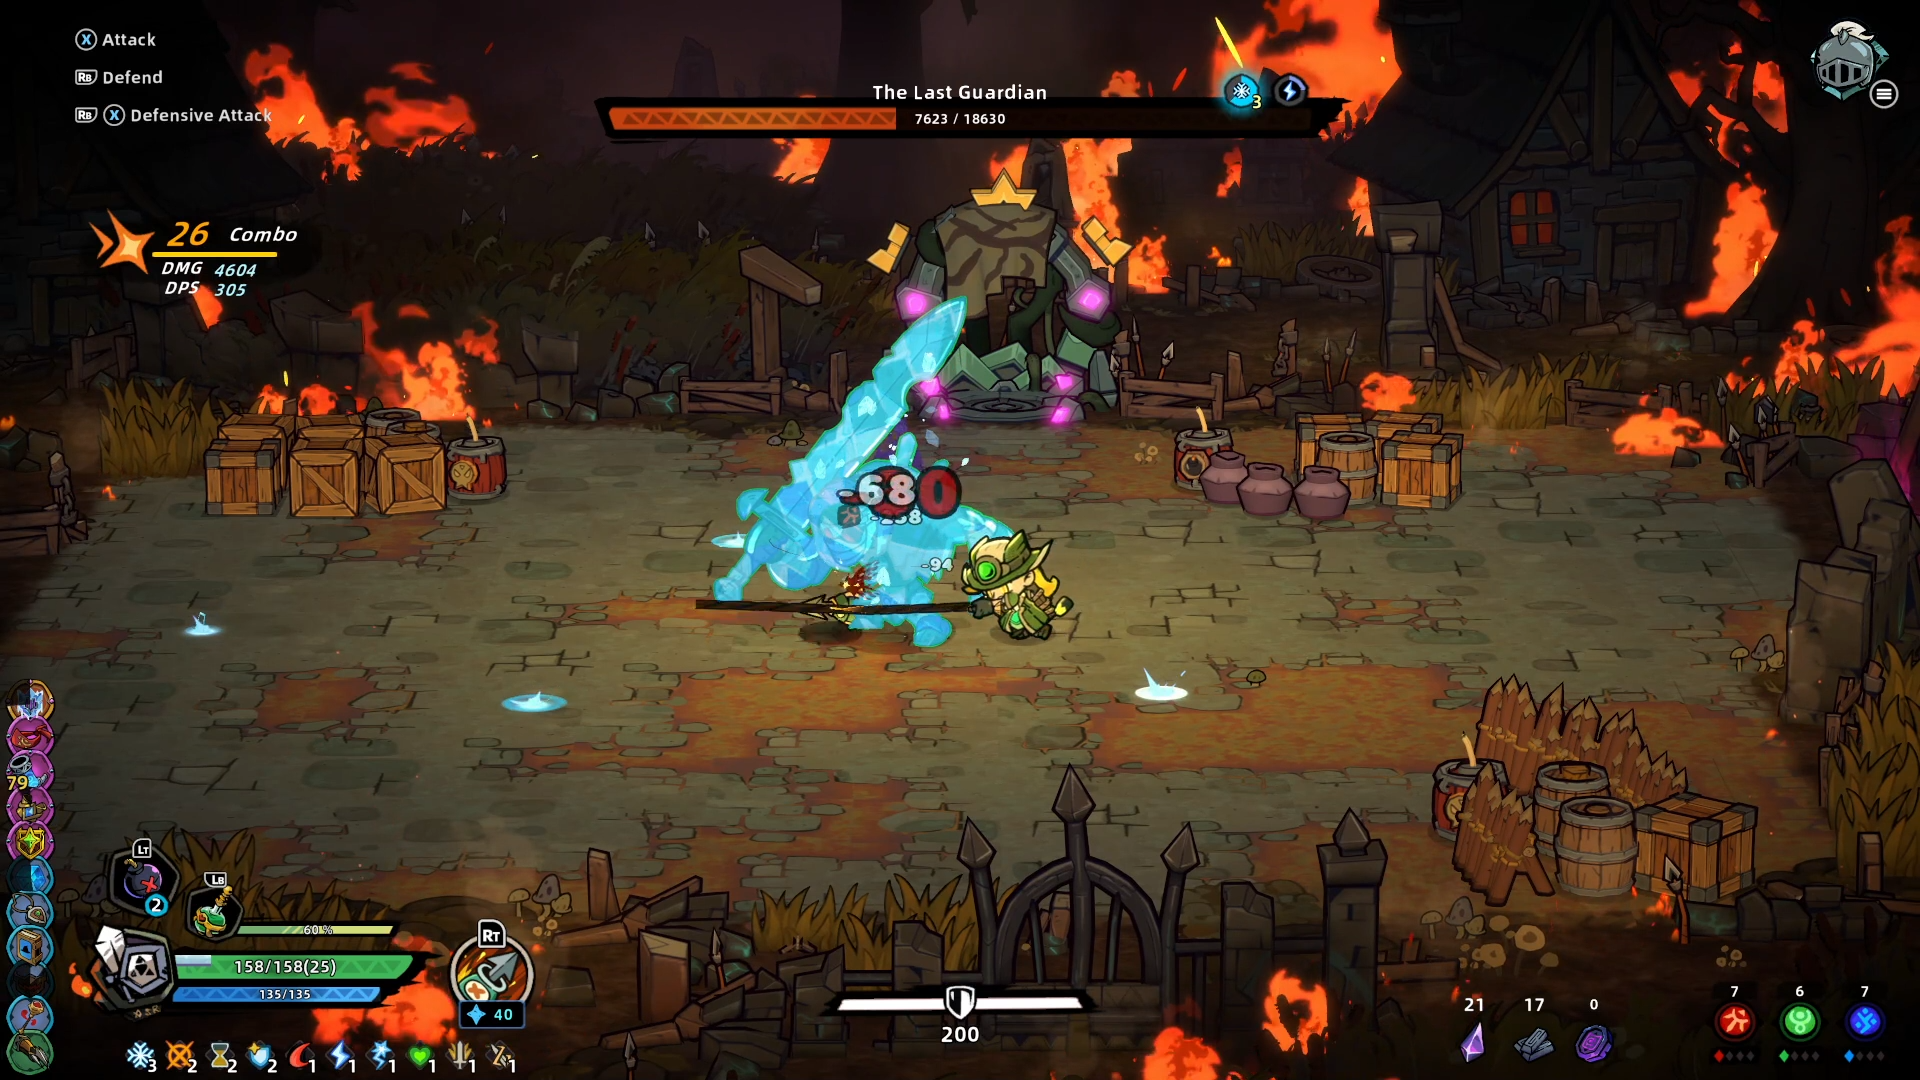
Basic approach: read the animation, dodge, punish. The spin attack is annoying if you're greedy, but nothing threatens you if you're patient.
Mid-fight, the ice gear triggered a freeze. Good confirmation that the Gloomy Ice Crown is working. Ice is strong.
No second phase. Cleaner fight than Mad Gardener.
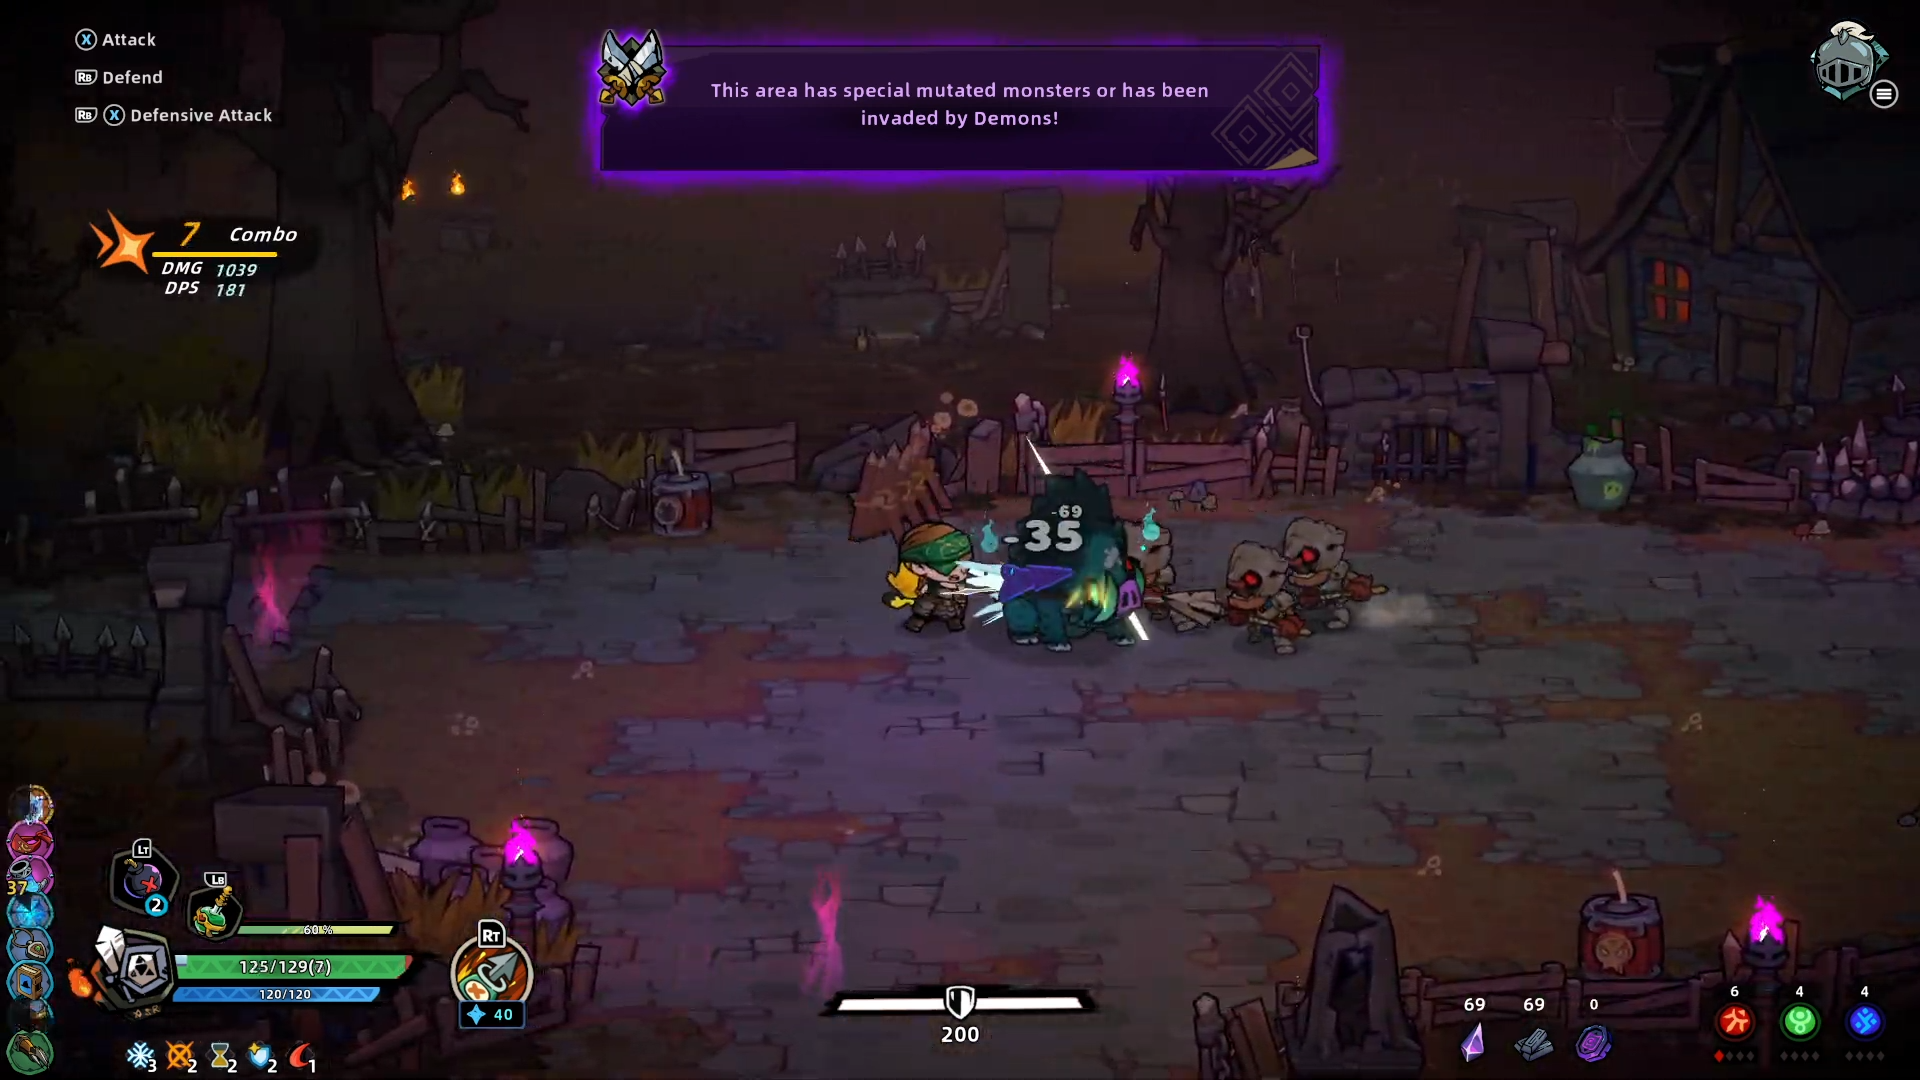
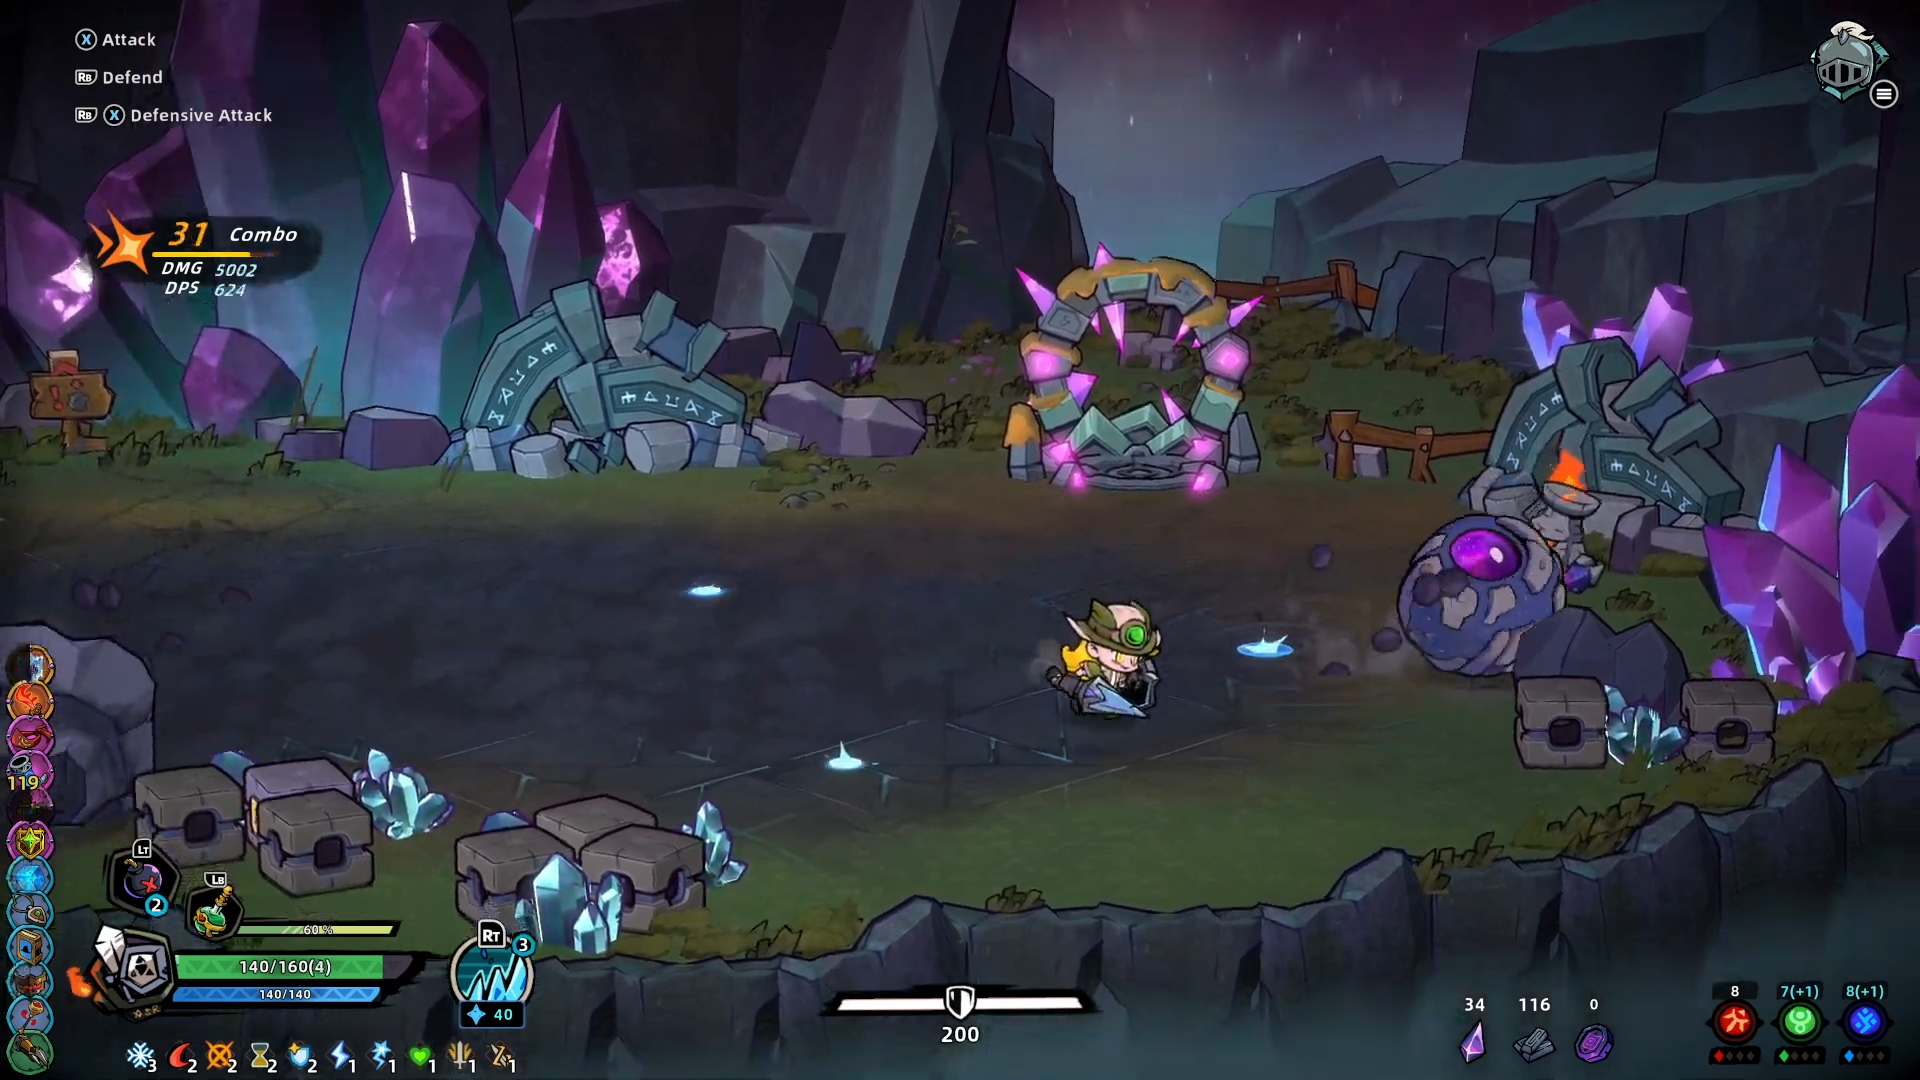
Crystal Mountain — Demon Invasion areas and the Behemoth fight
Next up: Crystal Mountain. Rocky monster enemies appear here.
"Invaded by Demon" events appeared on the way — stronger demon-type enemies replace the normal ones. The payoff is epic-rarity gear drops, so the risk-reward is good. Worth engaging whenever it shows up.
Crystal Mountain boss: Behemoth.
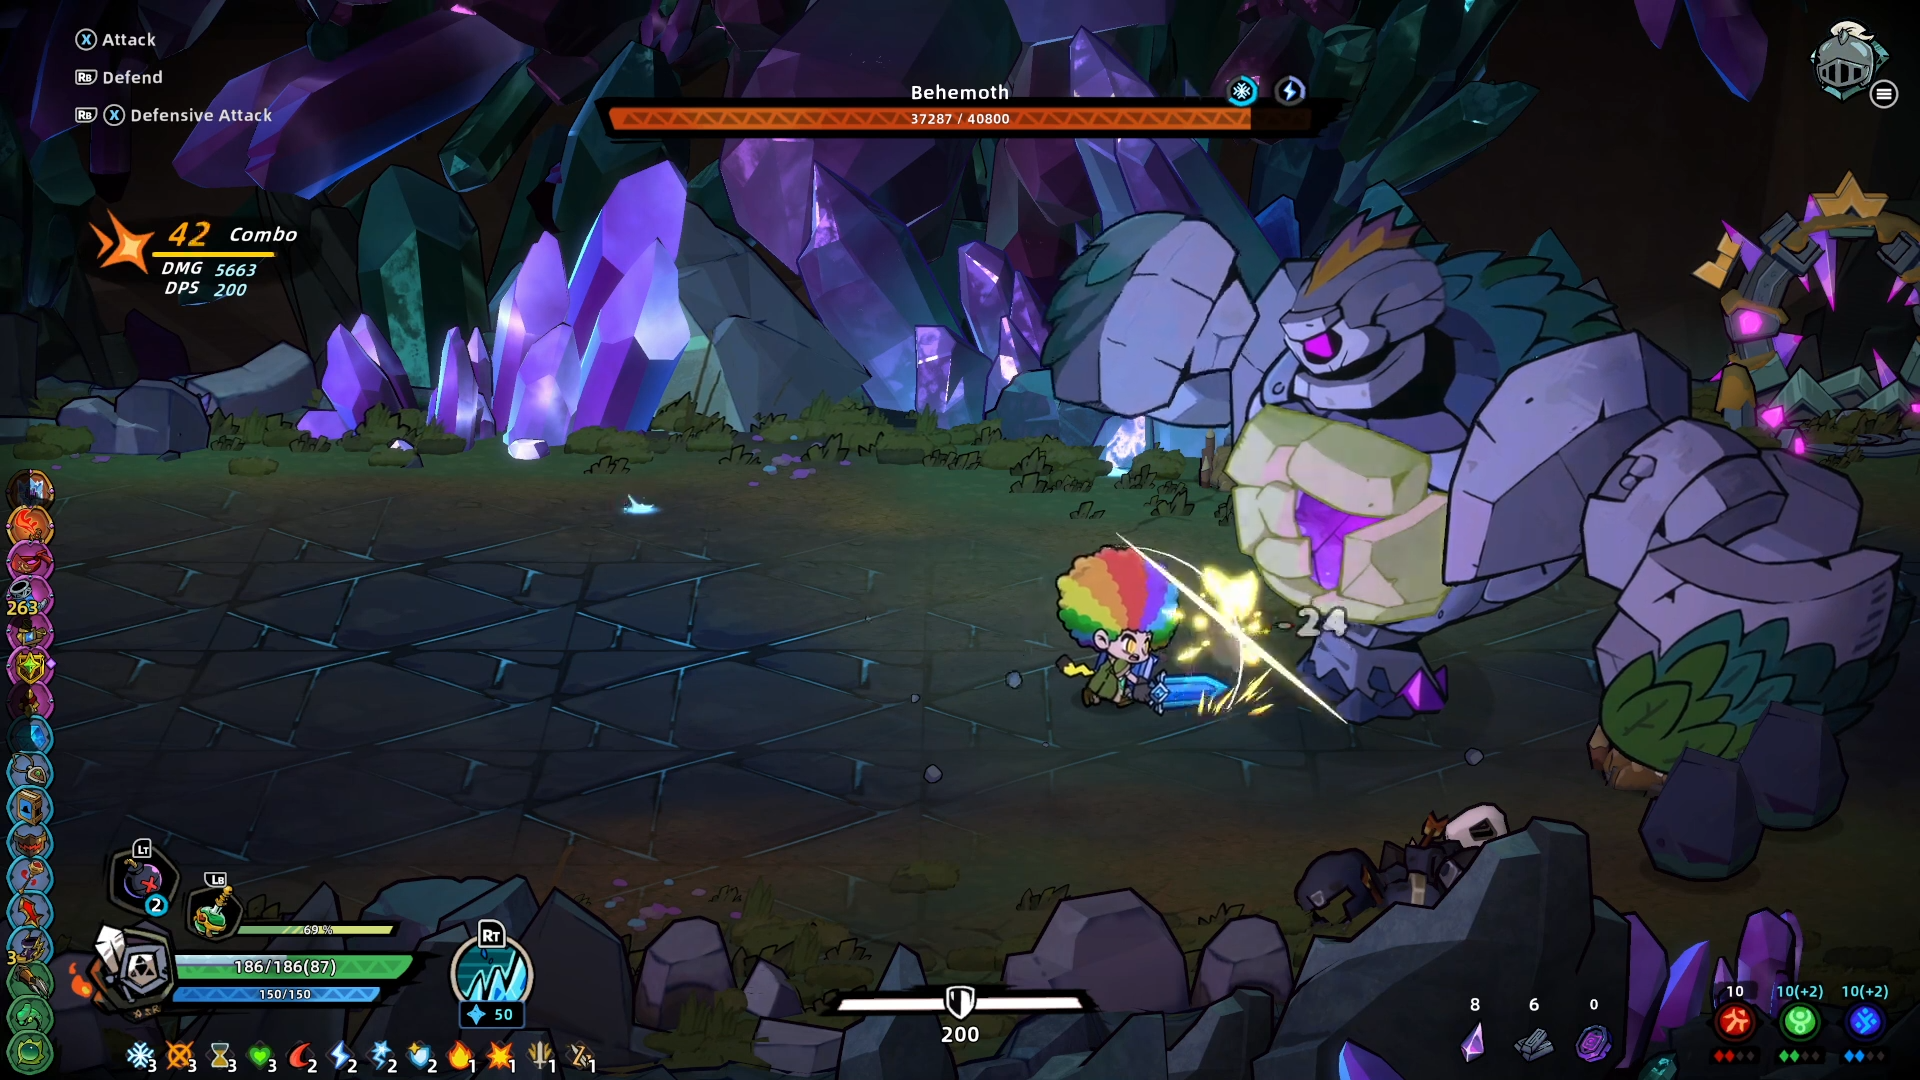
There's a gimmick here: crystals fall from the sky during the fight, and you can pick them up and throw them at the boss for massive damage.
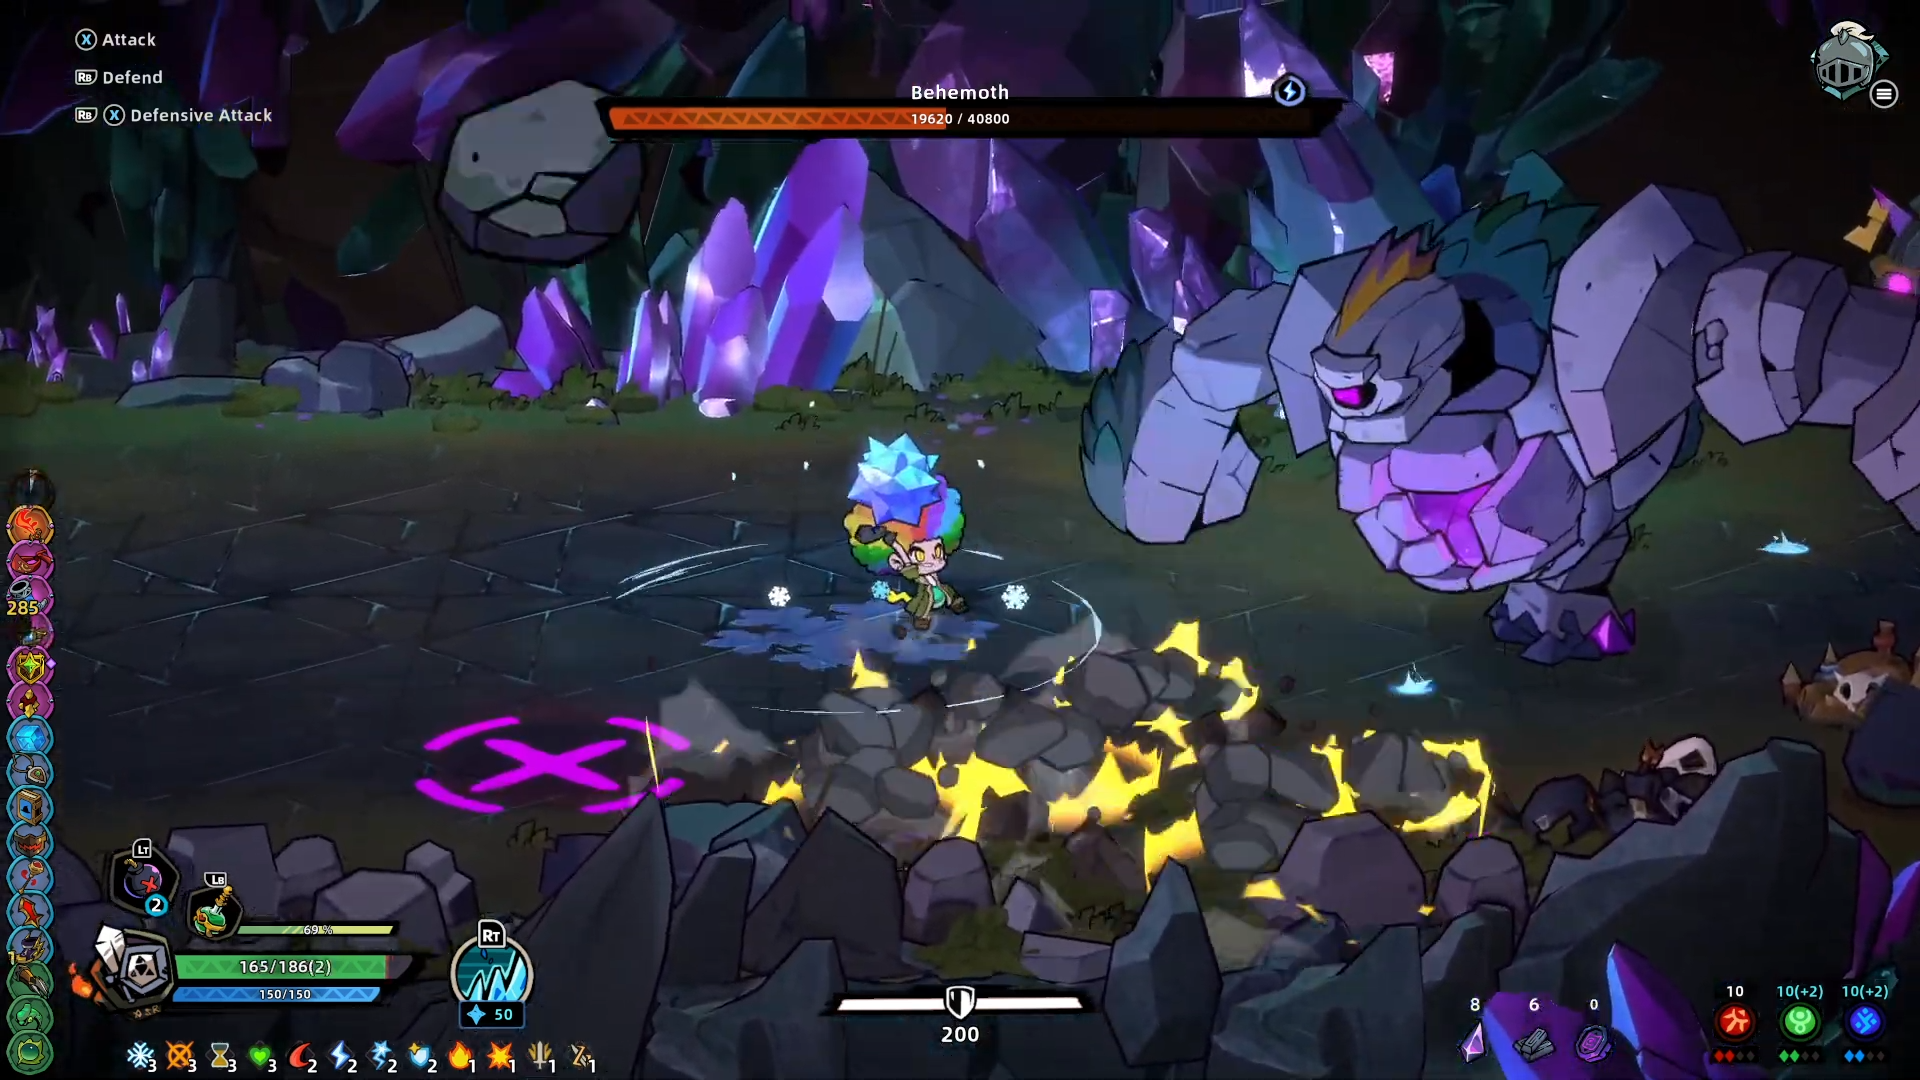
The crystals land near you, so the move is to position close to the boss, grab the crystal on its way down, and throw immediately. Carrying one while the boss is attacking is dangerous, so timing matters.
Health was dangerously low by the end, but the fight came together. Best boss in the run.
Black Castle Bridge — enemy designs escalate fast
Black Castle Bridge is where the enemy variety really opens up.
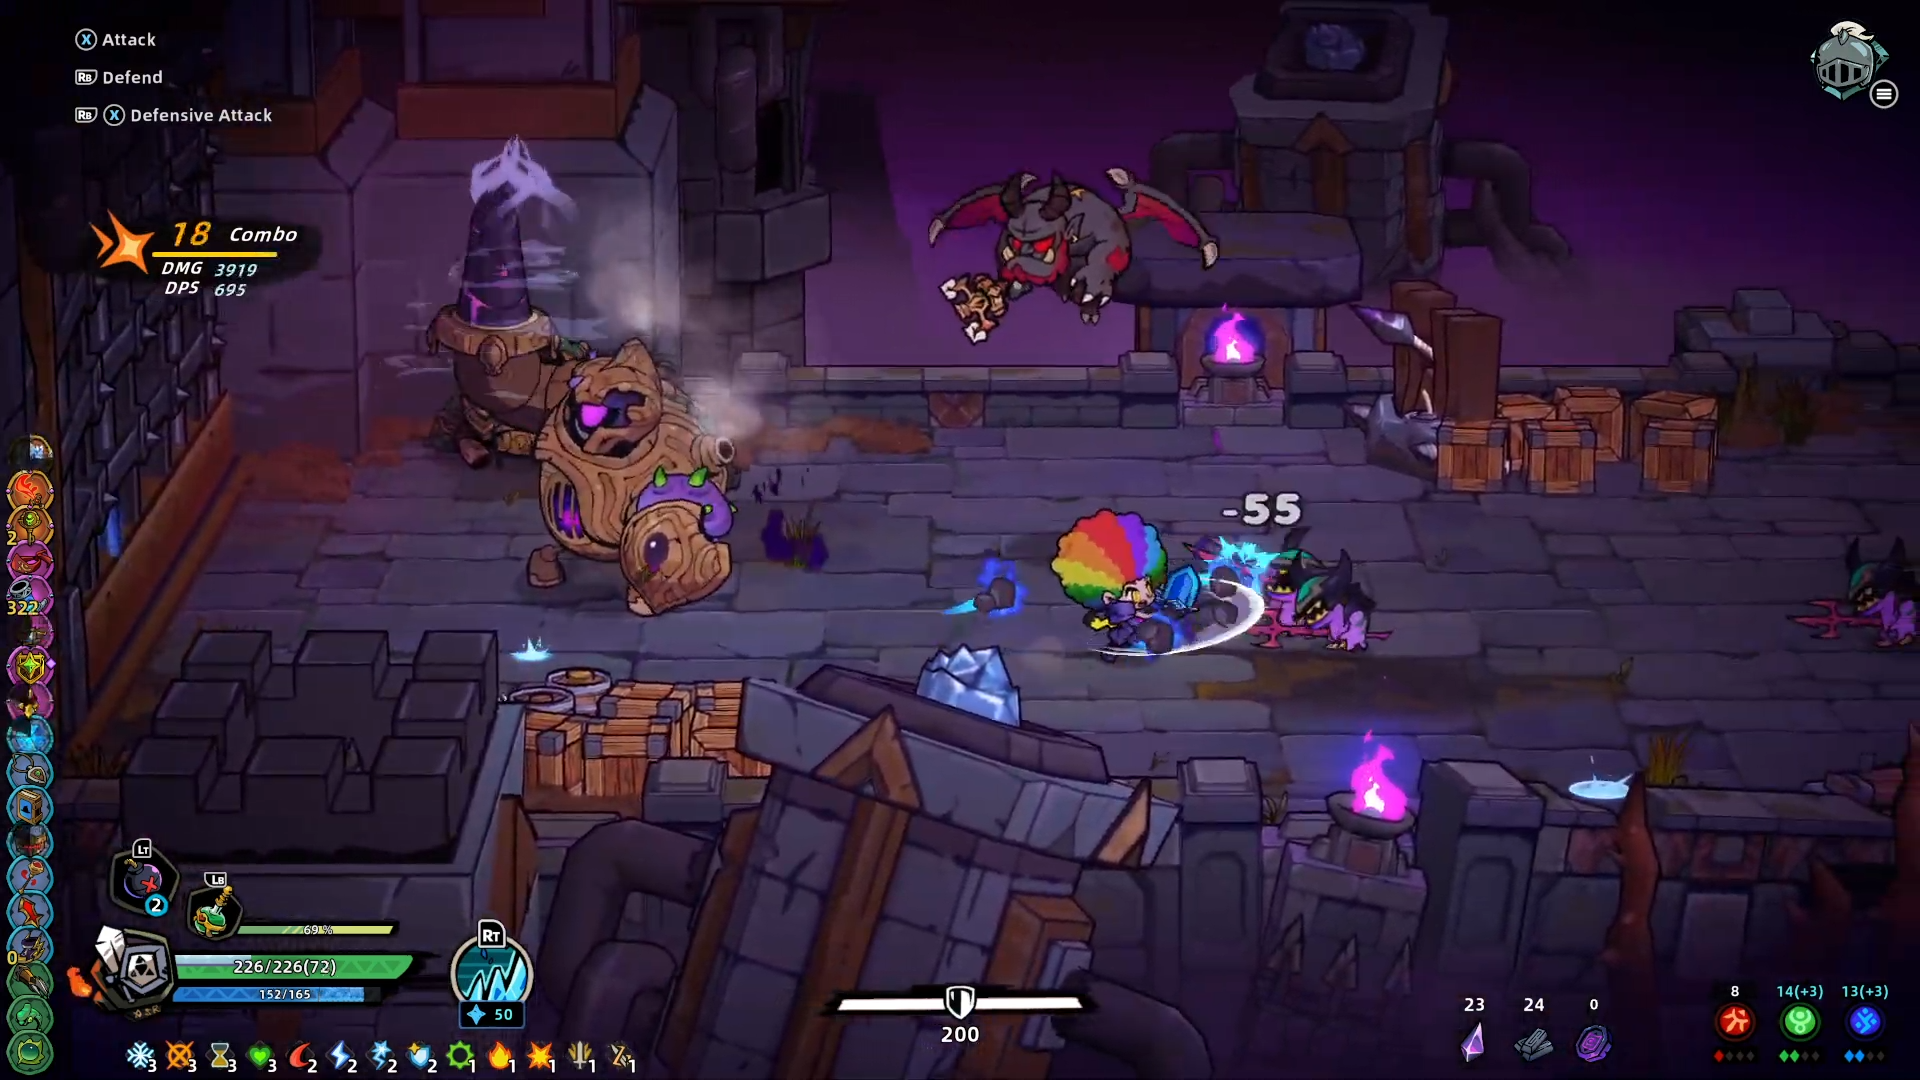
Drill chargers, gargoyle-type flyers, enemies that look straight out of a Zelda dungeon — the variety here is genuinely impressive. Just watching the enemy animations is entertaining. Feels like a lot of care went into this for the price.
Also discovered around here: item cap is 20 slots. There's a ceiling on how far you can stack a build in one run. Pouches seem to expand this, so pouch priority goes up late in the run.
Wandering Knight — dodge timing clicks into place
Black Castle Bridge boss: Wandering Knight.
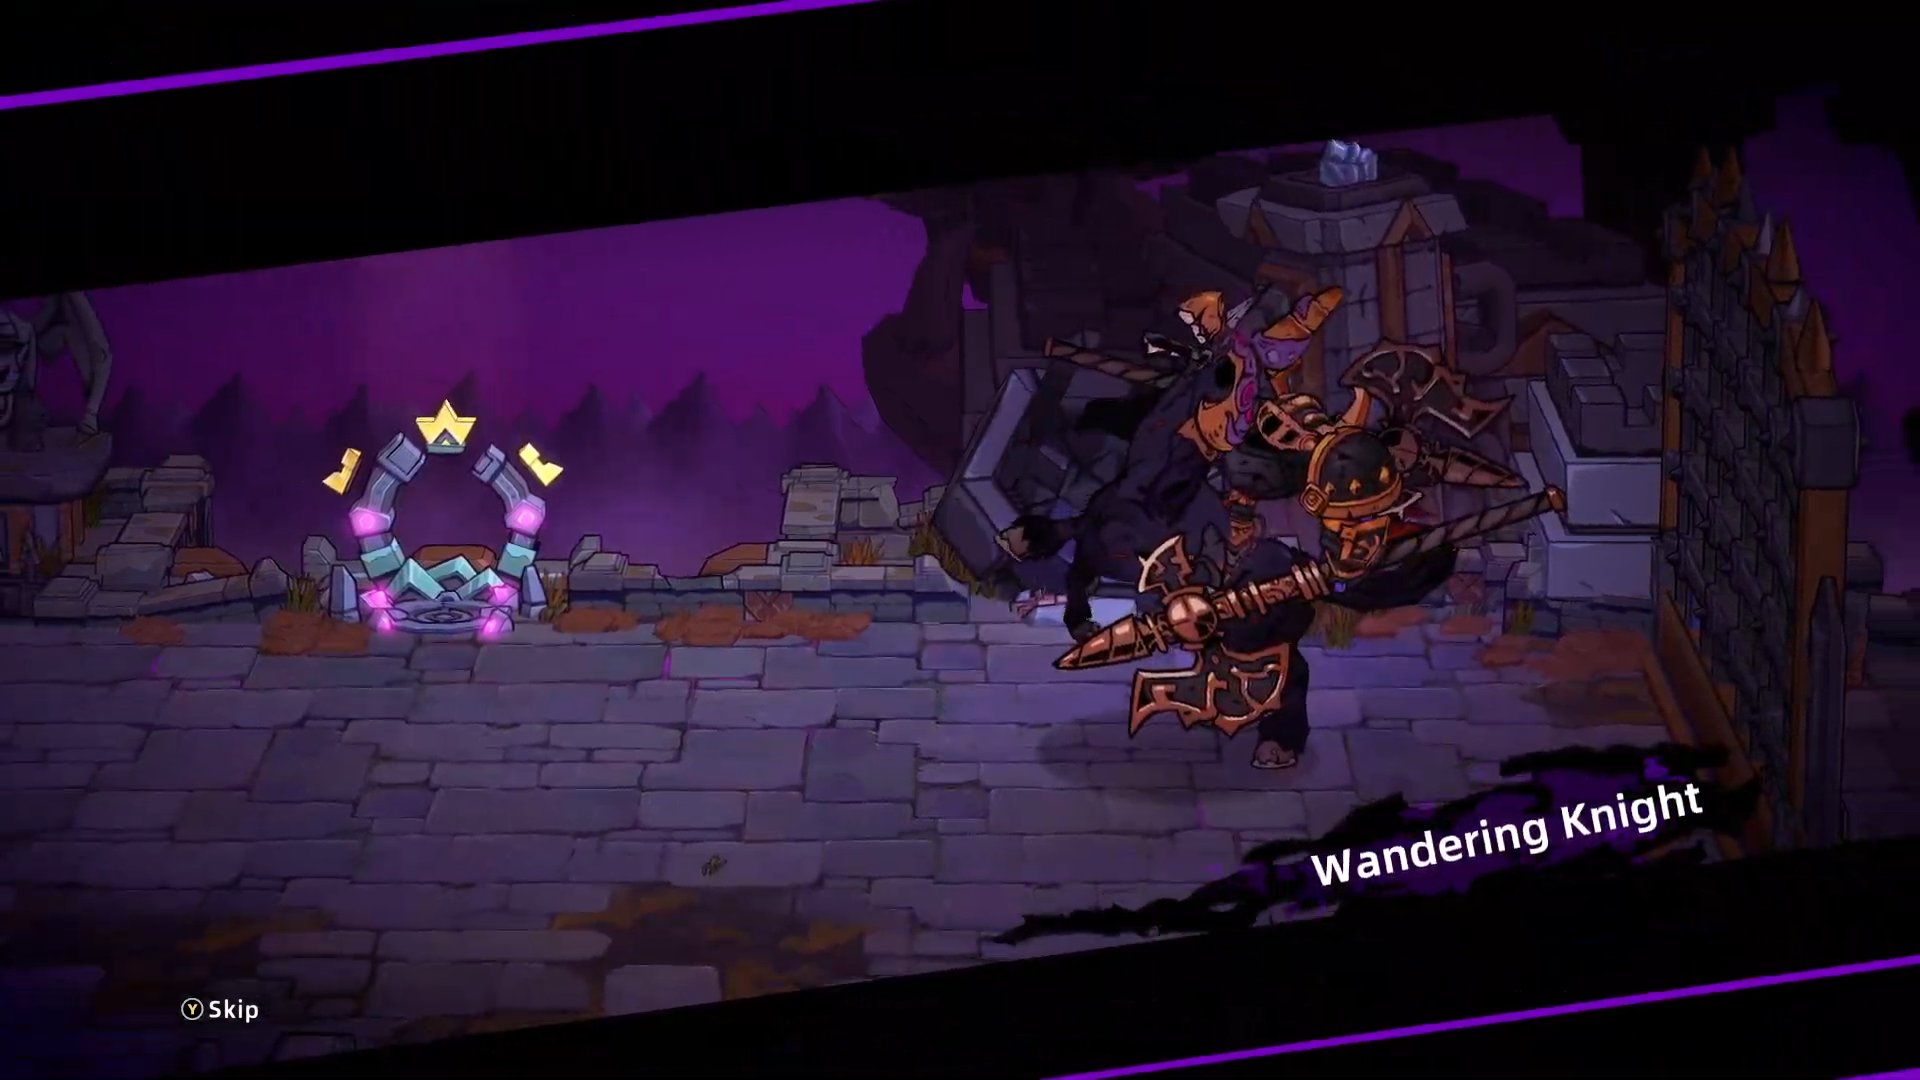
The horseback entrance gives it weight. Attack patterns are readable — get behind it after each swing. Spin attacks and AoE moves need respect, but they're all telegraphed.
This fight also made it clear: rolls have brief invincibility frames. Timing a roll into the attack animation lets you punish safely. Burned a potion, but got the clear. Castle doors open — time to go inside.
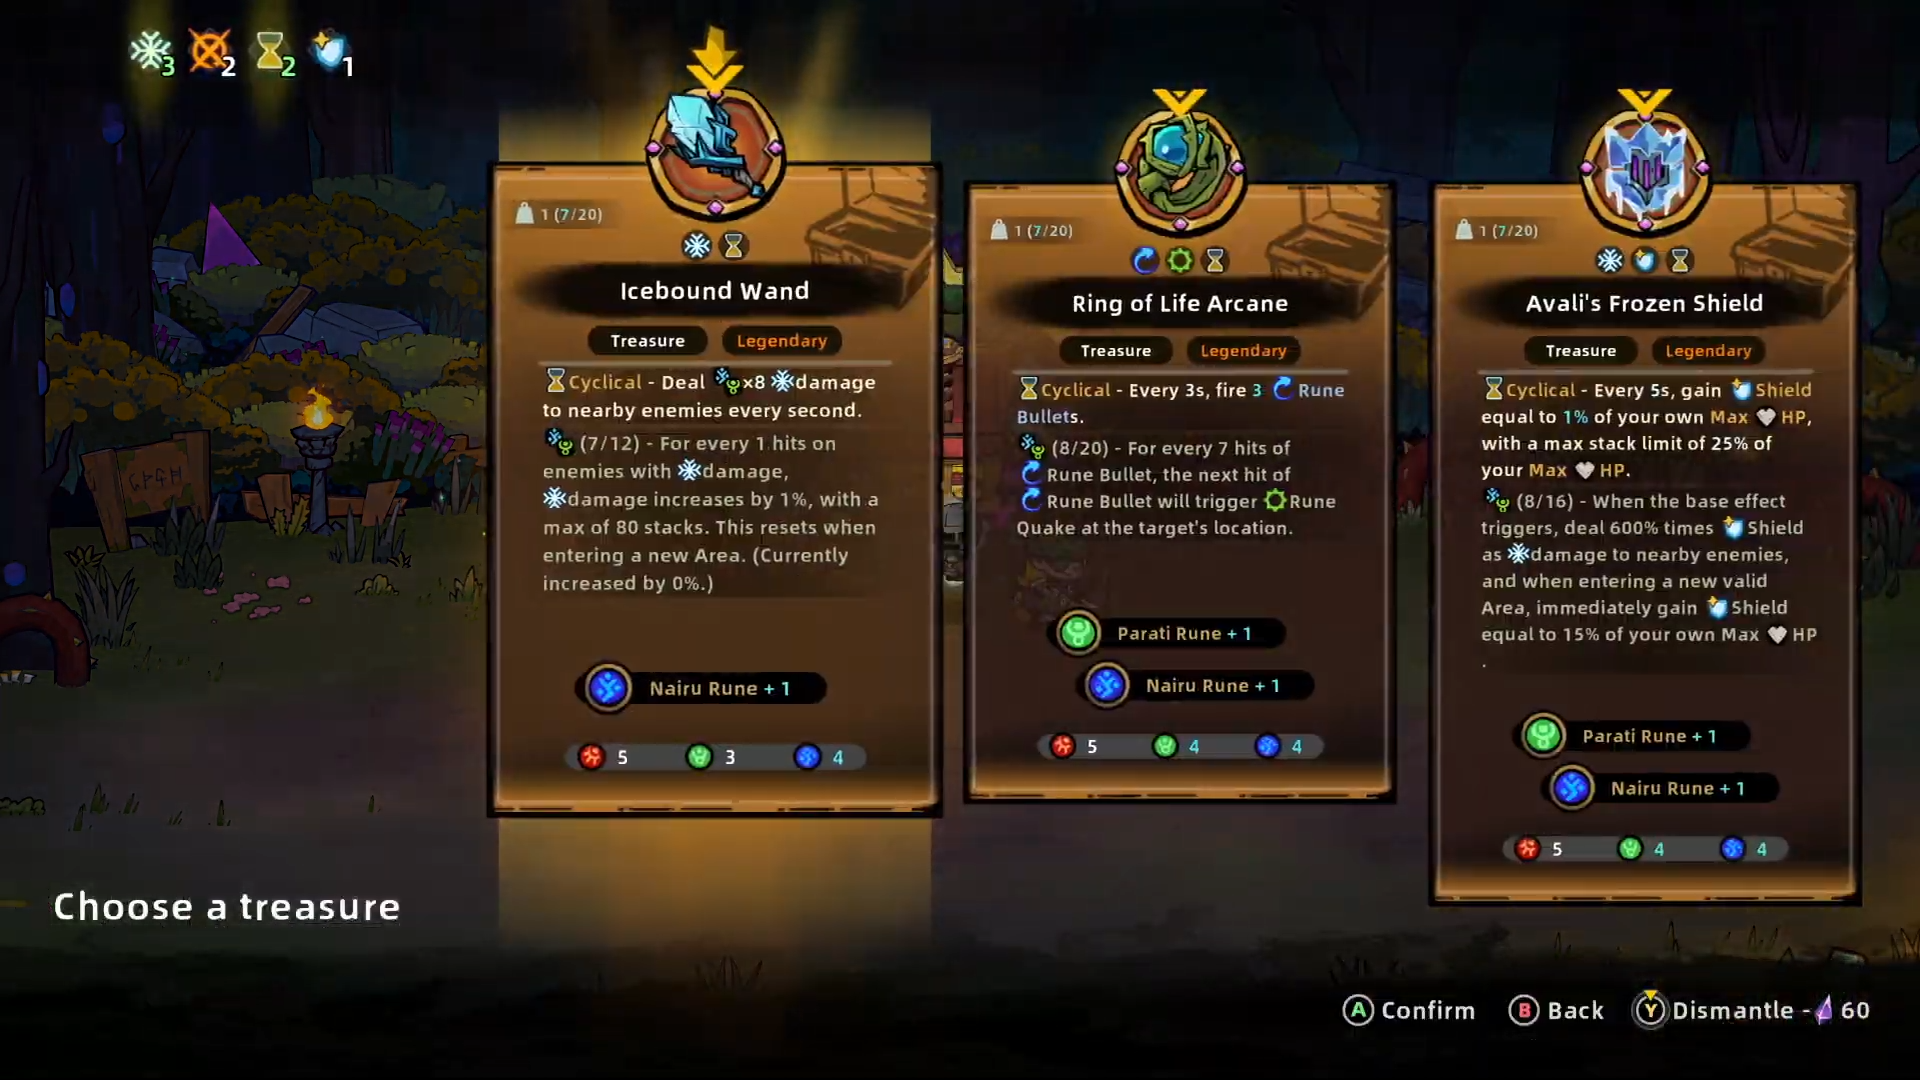
Post-fight legendary: Icebound Wand. Per-second ice damage to nearby enemies based on blue and green rune counts. In a crowd, that passive aura is going to add up.
Black Castle — shields and pouches both matter here
Black Castle interior. The environmental hazards pick up.
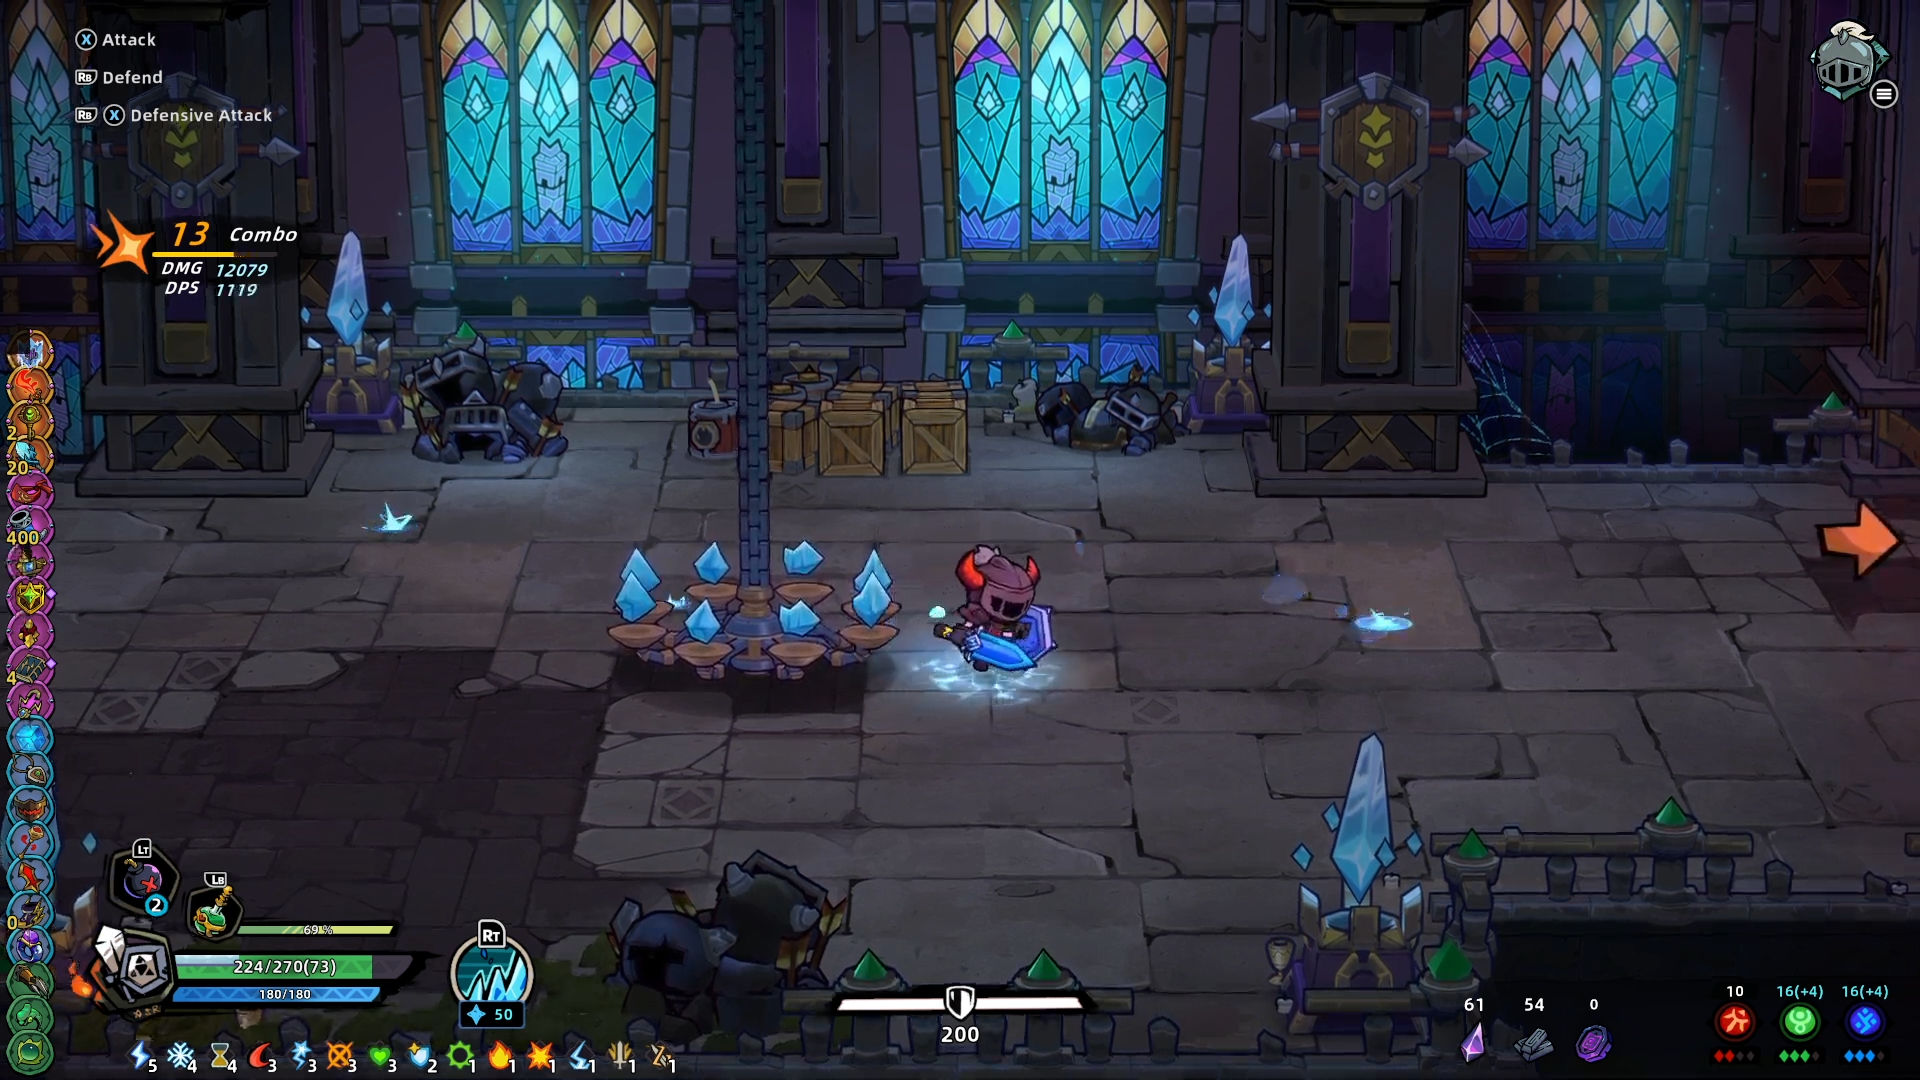
Falling chandeliers and eye enemies that fire stage-crossing beams. Both manageable — both annoying if you ignore them.
Picked up Life Stopwatch here: generates up to 50 shield every 40 seconds. Shield, gold, lifesteal — in my experience these three are always strong in roguelites. No deliberation needed.
Shield felt like 30–40 units in practice, which is meaningful protection at this point in the run.
Pouches were also available in the shop. With the 20-slot cap confirmed, expanding carry capacity in the back half of a run is going to matter for anyone who wants a fully realized build.
Final boss — Steward the Demon Sealer into the Demon Lord of Destruction
Black Castle boss, phase one: Steward the Demon Sealer.
Fast attacks, but the animations are readable and the stagger window is long. Not a hard fight.
After the clear, it transforms into the Demon Lord of Destruction.
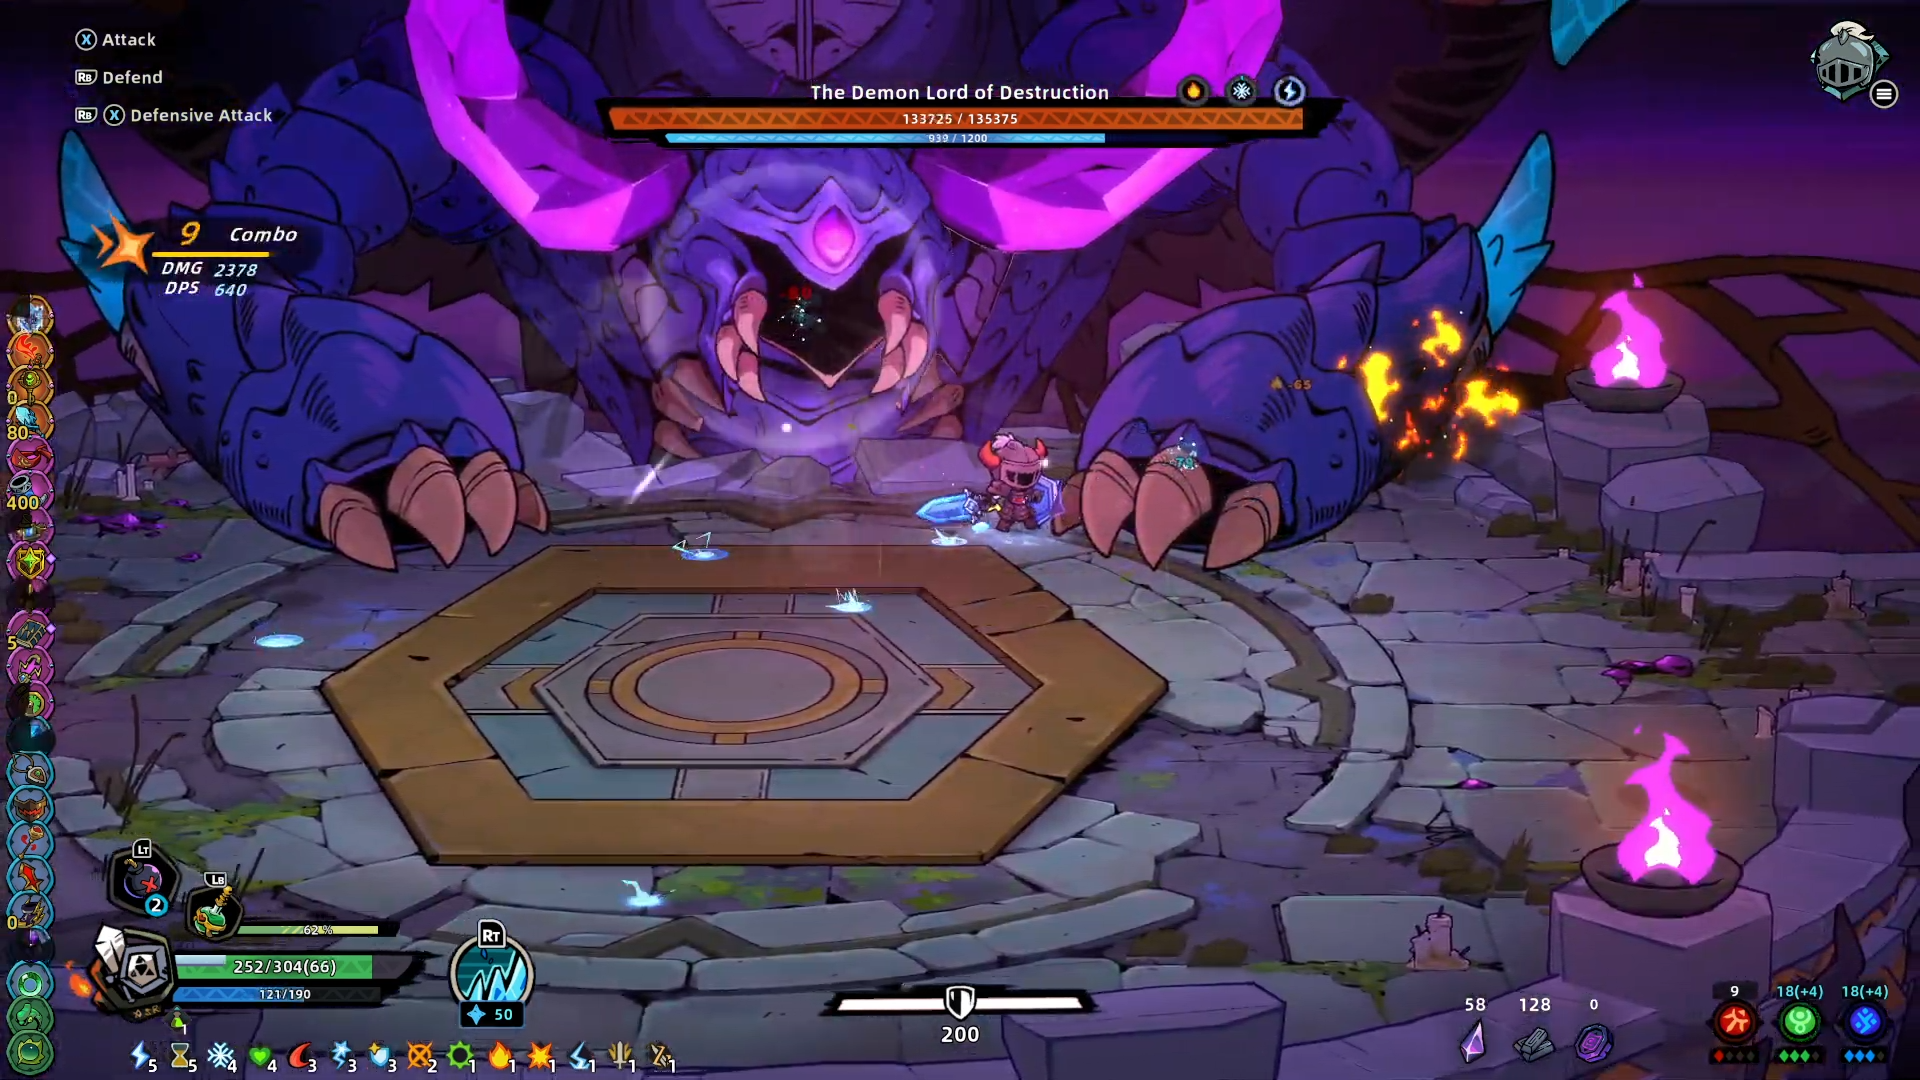
Phase two has what looks like a stagger gauge. Build it up, get the stagger, and unload. The rhythm of "poke → stagger → burst" gives the fight a satisfying structure.
Attacks: side beams, frontal beam spread, random lightning. All telegraphed. Keep rolling out of the animations, take the punish windows, and the fight is manageable.
First-run solo clear.
Post-clear content — camp upgrades, Nightmare, and more
Post-clear lore: the castle exists to seal something ancient and very bad. The seal is weakening. Our treasure hunters aren't ready for what's underneath yet.
Normal mode clear is an entry point, not a destination.
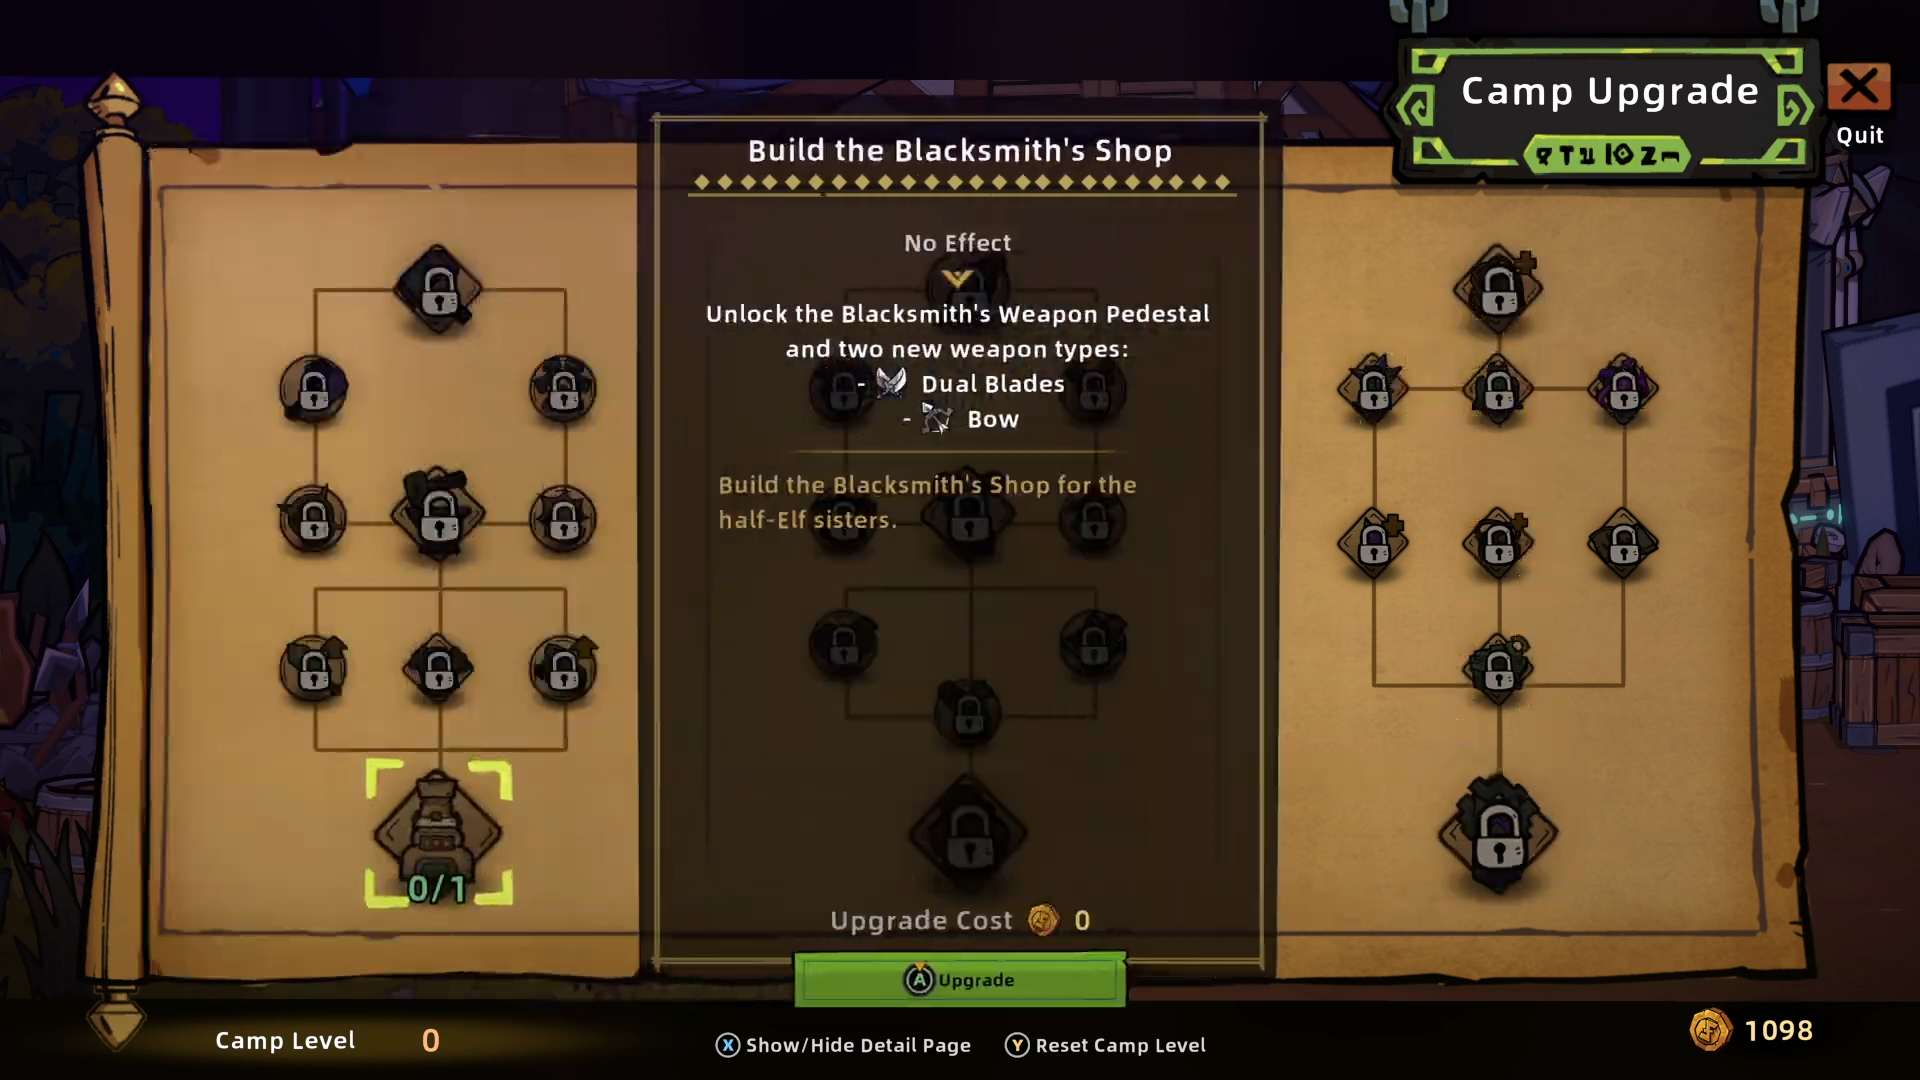
Unlocked on clear:
- Camp upgrades (Armstrong NPC): persistent trees for base weapon, attack power, defense, and potion strength
- Nightmare difficulty: available immediately after Normal clear
- Camp Upgrade: a system with negative modifiers that boost rewards — details still unclear
- Alchemy: further unlocked, looks like a permanent buff layer
Tips from this run
Dodge first, attack second
Rolls have invincibility frames. Reading the animation and rolling through it is always safer than trading hits. Large enemies often have super armor mid-attack — keep swinging during those and you'll eat the counter. Build the habit of waiting for the opening.
Ice and shields are strong early and stay strong
Ice procs freeze, which stops enemies in their tracks and opens free punish windows. Shield gear — especially refresh-on-interval types — dramatically extends how long you survive. Prioritizing both early pays off through the whole run.
Always take challenge areas and Demon Invasion events
Challenge areas add a bonus reward drop on clear. Demon Invasion events have tougher enemies but drop epic gear. Both are risky and both are worth it — the return on investment is good.
Item cap is 20 slots — pouches matter late
Build space is finite. Pouches expand carry capacity, which becomes critical if you want a complete build by the final boss. Also worth noting: upgrading an item before replacing it wastes the upgrade. Update gear before investing in it.
Look for boss gimmicks — Behemoth is the clearest example
Falling crystals during the Behemoth fight do massive damage when thrown back. Grab near the boss, throw immediately. Gimmicks like this can turn a desperate fight into a manageable one — stay aware of what the arena is giving you.
Wrap-up — great solo, probably better with friends
Getting through a full run on the first attempt felt like a testament to how well the game communicates its systems. The on-ramp is smooth without being hand-holdy.
Enemy designs and animations are genuinely varied and fun to watch. A lot of craft went into the individual encounters for what this costs.
If you like action games, roguelites, or the kind of build experimentation that Hades popularized, this one is worth your time. And with four-player co-op support, a group session is probably even better.
More from this category
[Tales Of Wakana Play Log #1] Clearing the Demo's Underground Stage — Slime Boss Fight and Surprisingly Solid Pixel-Art Action
June 17, 2026
[Taskbar Hero / TBH Play Log #8] Torment Complete Clear — Ranger Burst Build and OP Optimization to Defeat the Final Boss
June 14, 2026
[Taskbar Hero / TBH Play Log #7] Clearing Hell Chapter 3: why Chaos resistance beats armor level every time
June 10, 2026